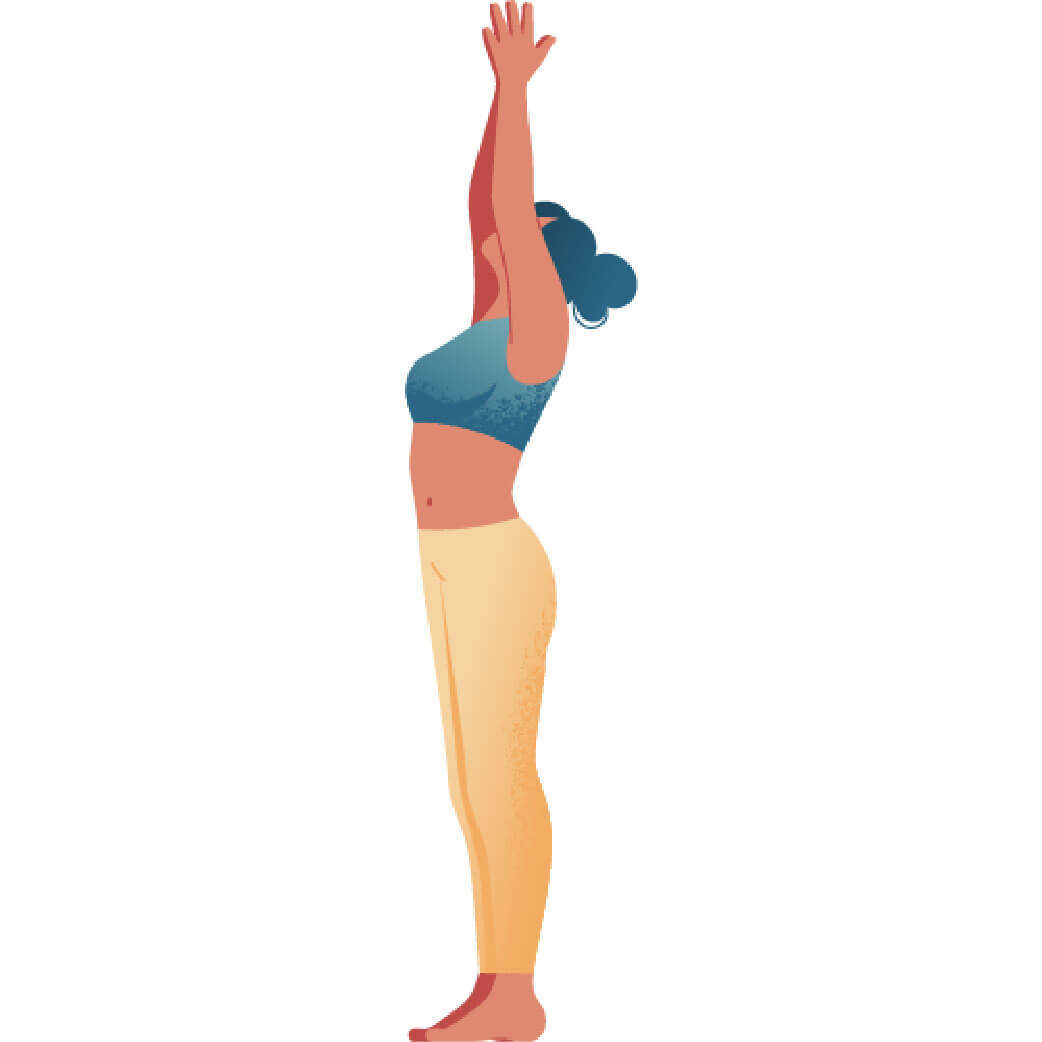
Quick Facts

  • Sanskrit (Original): Ardha Uttānāsana
  • Etymology: Half (ardha); intense (ut); stretch (tā); pose (āsana)
  • Fun Fact about the pose: This is a great in-between pose and gives you both length and strength.
  • Asana Type: Forward Fold, Standing
  • Main length muscle groups: muscles_length_muscle_groups
  • Main strength muscle groups: Glute muscles, core, muscles of the feet
  • Vinyasa Breath: Inhale

How to Cue the Pose: Step By Step

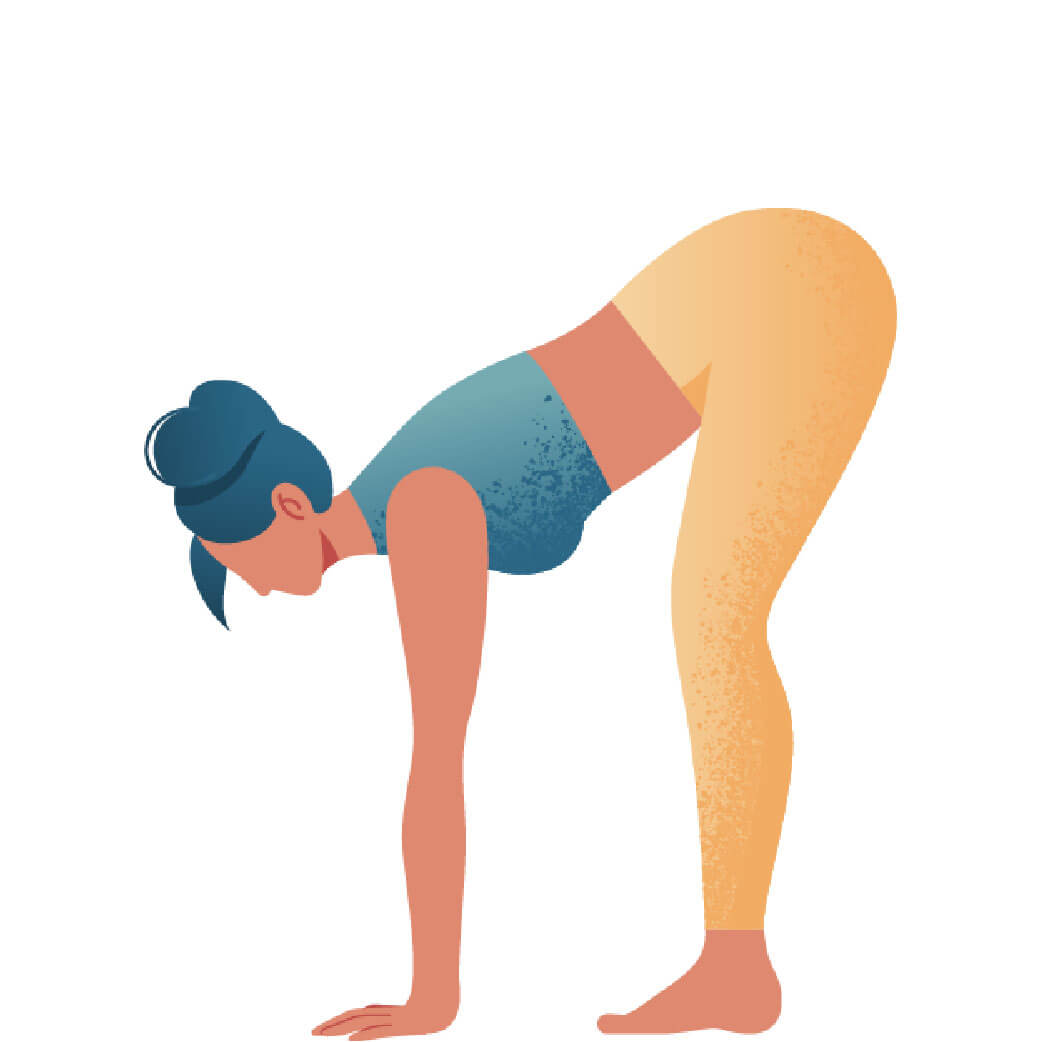
  • 1 Start similarly to Uttanasana with the feet parallel and hip-width apart.
  • 2 Slightly bend the knees and fold forward from the hips.
  • 3 Place the fingertips onto the mat in front of you and lift your chest.
  • 4 Draw the navel in and up to engage the core.
  • 5 As Ardha Uttanasana is also referred to as Flat Back, make sure your spine is straight. This may mean that you have to lift your torso slightly up again so that the fingertips don’t touch the floor.
  • 6 Push the sternum forward while, at the same time, sending the sit bones back and up to create more length in the spine.
  • 7 Also, lift your shoulder blades up and move them towards each other.
  • 8 Shift your body weight slightly back into the heels and cultivate more strength in the entire body.
  • 9 If you feel you have enough length in the hamstrings, you can also gradually straighten your knees.
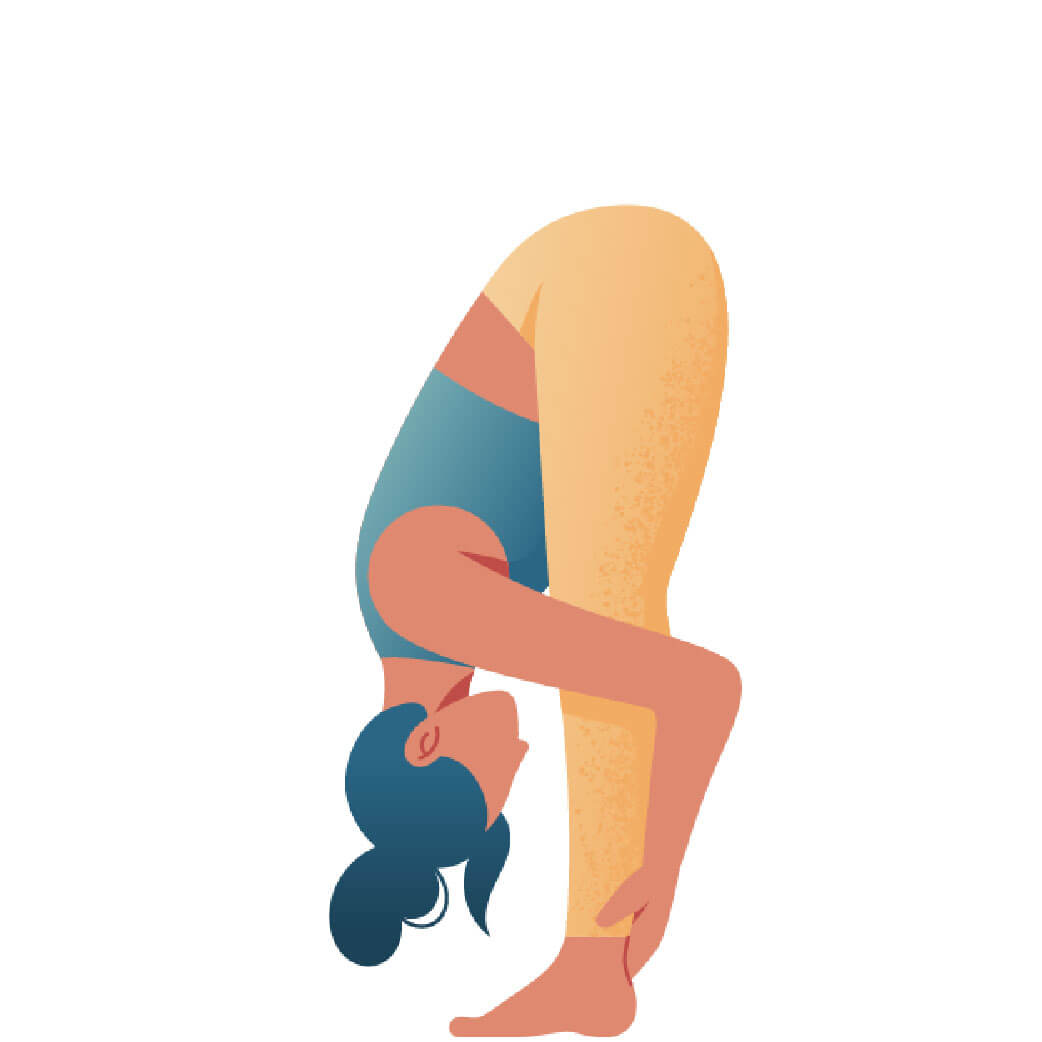
  • 10 From here, exhale to fold into Uttanasana or stay in Ardha Uttanasana for the exhale and return to standing in Tadasana on the inhale.

Working The Details: Alignment In The Pose

  • Maintain the natural curve in the back: Although it is really tempting to place your fingertips on the ground in Half Standing Forward Fold, this is actually not the main goal of the pose. As its alternative name, Flat Back, suggests the focus is on a straight back, which means maintaining its natural curve. This means that the height of your torso is actually determined by the flexibility of your hamstrings and hips. For some practitioners, this may mean having the fingertips on the ground while others might do better when the torso is further lifted. If you have trouble noticing when your back is straight, place your hand onto your lower back and lift until you feel this area flattening.
  • Keep the neck long: In order to maintain the natural curve of the spine all the way through the cervical spine, also focus on keeping the neck long and wrinkle-free. This means that your head stays in extension of the spine, i.e you look about half a meter in front of you on the ground (depending on the length of your torso). So you look neither at your feet nor straight ahead in front of you (there’s nothing interesting to see there anyway).
  • Lift the chest: Remember that every forward fold is a slight backbend. So, instead of collapsing forward, make a conscious effort to lift the chest. Ideally, you push the sternum forward and draw the shoulder blades up and closer together.
  • Be gentle on your hamstrings: While your ego may tell you to straighten your legs completely, your body will probably thank you if you keep them slightly bent instead. This will not only be more gentle on your ischiocrural muscles (hamstrings), but also give you more range of motion in your pelvis. With less pull on the backside, you will be better able to maintain the natural curvature of the spine as well. If you still want to target your hamstrings, focus on sending the sitting bones further back. This will provide you with a much healthier hamstring stretch.

Adapting The Pose Through Modifications

Simplify

  • If you can’t reach the floor with your fingertips, you can place your hands onto your shins or on a block in front of you.
  • Allow your knees to bend more than your ego allows you to. This is a great way to prevent the pelvis from being pulled down by your hamstrings. As a result, you will find more mobility in the hip joints and more ease in lengthening the spine.
  • Give your sit bones some extra height and your hamstrings some extra length by placing a rolled-up blanket under your heels. You could even use blocks to do this. At the same time, this version will educate you to distribute the weight of your body more evenly over your feet.

Level Up

  • Join your feet together to make one leg out of two. This variation will make it more difficult for you to balance, but also offer you a different feeling of centering. For this, you can imagine the centerline of your body and draw everything inwards into your center.
  • Intensify the stretch on the hamstrings by using a wall as a prop. Place your feet about a foot length away from the wall, with your back facing the wall. Now place your sit bones against the wall. Draw your buttocks flesh out with your hands to make sure the sit bones are really connecting. Fold over your legs halfway and press into your feet to extend the legs.
  • Give your sit bones some extra lift and challenge your balancing capacity by coming on to the tip of your toes in Ardha Uttanasana. Focus on creating the same sense of length and release in the spine, head and neck as you would with the whole feet on the floor.
  • For a nice back-strengthening exercise, place your hands in Anjali Mudra (prayer position) in front of your sternum. Watch out that the shoulder blades don’t collapse forward as you do that, Also, keep your back muscles and belly engaged.
  • You can even include a little twist into Half Standing Forward Fold: With a long spine, place the fingertips of one hand and lift up the other arm, slightly bending the opposite knee. You can practice this variation on both sides by working dynamically with the breath.

Benefits of Ardha Uttanasana

  • This pose stretches the entire backside of the body from the ankles, calves, hamstrings, glutes and the entire spine.
  • As you need to keep your torso halfway lifted, Ardha Uttanasana also strengthens the core muscles.
  • If you really focus on maintaining the natural curvature of your spine and keeping the neck long, this pose is a great remedy for bad posture due to prolonged sitting.
  • Exploring the alignment of the spine in relation to the position of the pelvis and legs trains your body intelligence and increases your awareness of how your body moves.

I love to include this pose into the warm-up. Instead of diving directly into Sun Salutations, I usually start with some Half Sun Salutations, i.e. moving from Urdhva Hastasana into Uttanasana and lifting back up into Tadasana with a little stopover in Ardha Uttanasana.

Saskia

Content Manager at Inside | Passionate Yoga Teacher

FAQ: Common questions about this pose

Usually, the pose is held as a transition only between standing poses and standing forward folds, for example when transitioning from Urdhva Hastasana into Uttanasana. In this case, you will only hold the Ardha Uttanasana for one inhale. Though it’s also possible to incorporate this asana into a Hatha-based or therapeutic yoga class. This means that you spend more time in the pose working on the details – five to ten full breath cycles (one inhale and one exhale equals one full cycle of breath).

There is no general answer to this question, as this depends on the range of motion of your own body. If you have no trouble keeping your spine long when folding over your hips, it can be a great way of working on your hamstring lengths by actively engaging your leg muscles to straighten your knees. However, if your spine becomes round, or if your hip joint feels tight, opt for practicing the pose with bent knees until you feel that your range of motion has increased.

Since having a straight spine is not something we practice very often anymore, many practitioners lack awareness for the alignment of their spine. The remedy is quite simple: Practice next to a mirror and check whether your spine is straight or place one hand onto your lower back and lift until you feel the area underneath your hand flatten.