Quick Facts

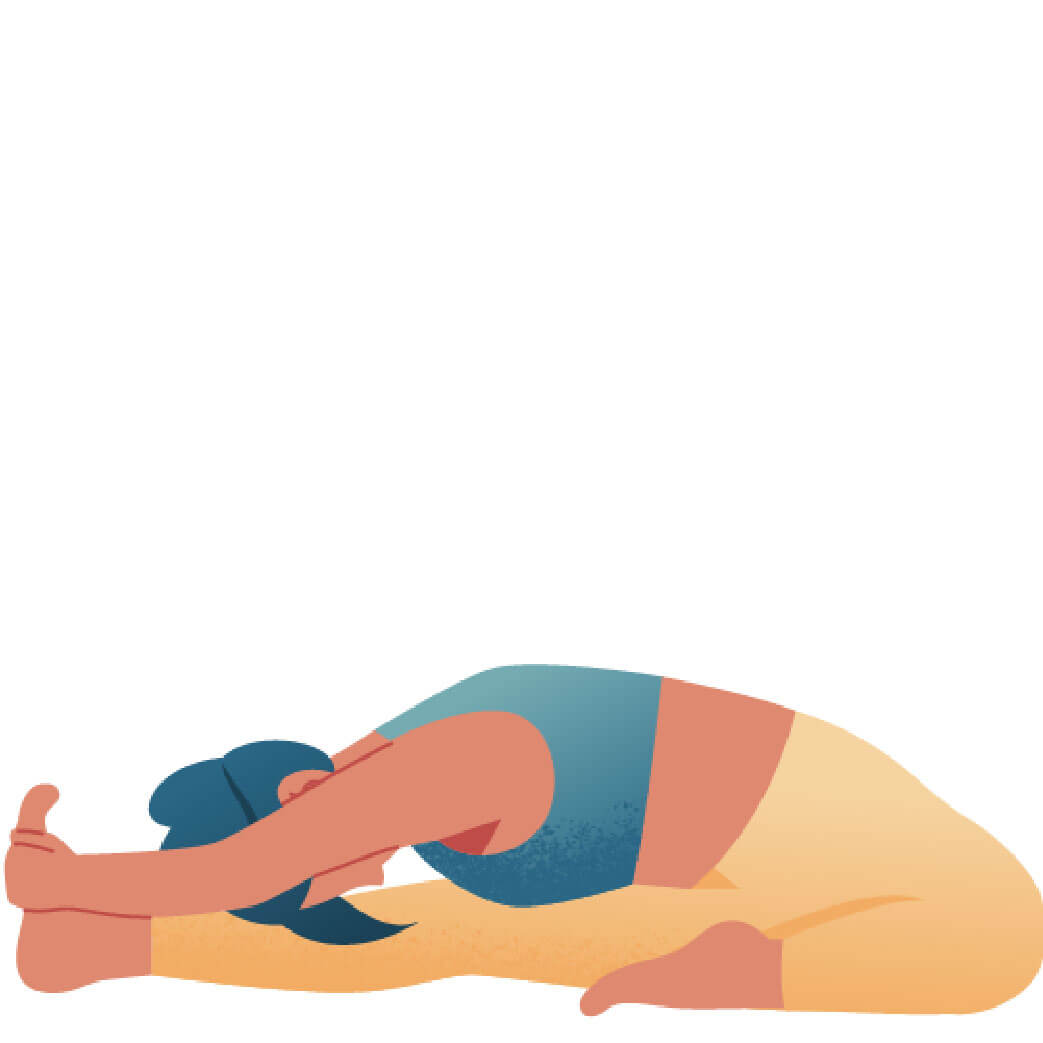
  • Sanskrit (Original): Jānuśīrṣāsana
  • Etymology: Knee (jānu); head (śīrṣa); pose (āsana)
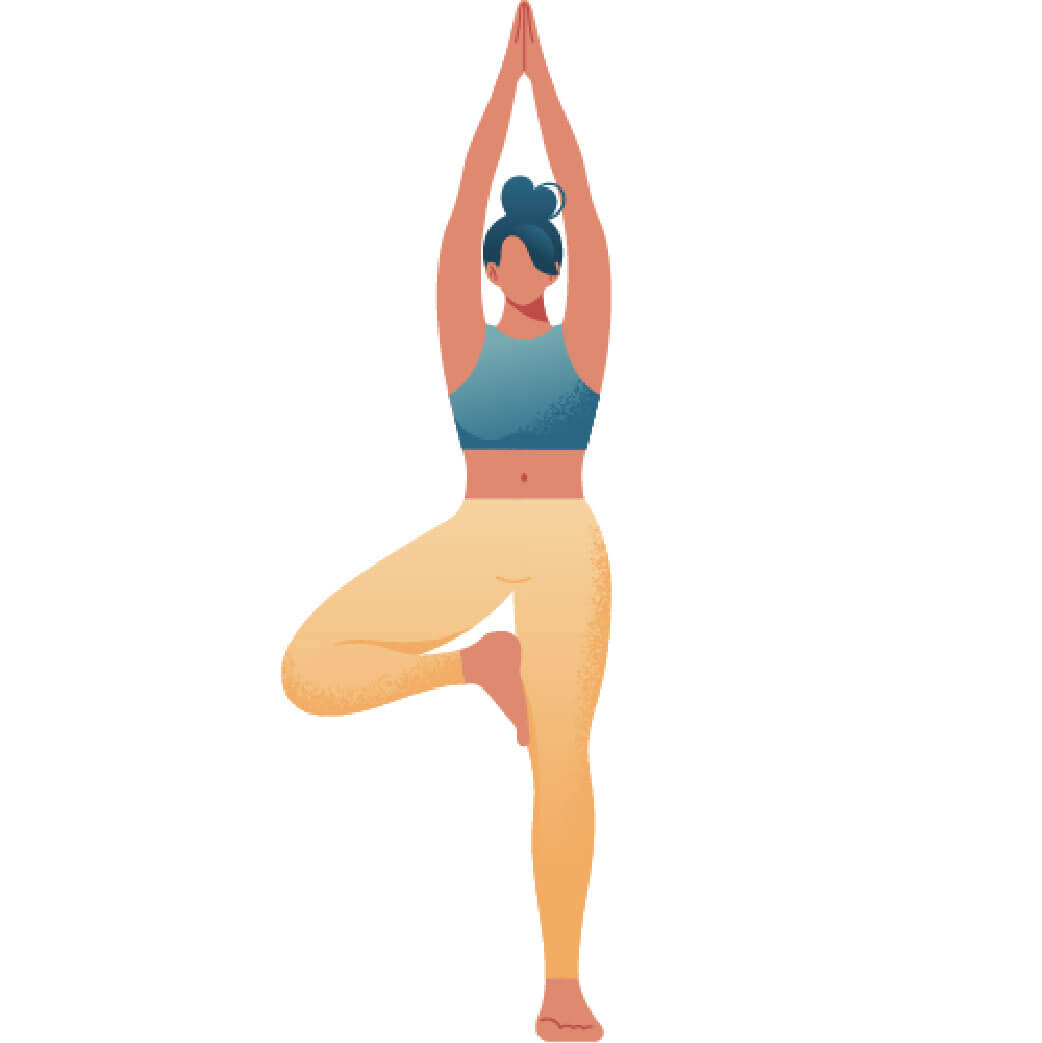
  • Fun Fact about the pose: It is like Tree Pose just sitting down.
  • Asana Type: Forward Fold, Seated
  • Main length muscle groups: muscles_length_muscle_groups
  • Main strength muscle groups: Quadriceps femoris
  • Vinyasa Breath: Inhale and exhale possible

How to Cue the Pose: Step By Step

  • 1 Start sitting with both legs stretched out straight in front of you. Bend your left knee and pull the foot towards you. Let the folded knee sink outwards and down resting on the floor. Press the left sole of the foot into the inner side of the right thigh, with the heel coming up as close as possible to the perineum. Check that you are still sitting on top of the center of the sit bone of the straight leg. You could even roll out your buttocks flesh with your hands.
  • 2 Stretch the bent knee as far back as possible, so that the angle of the two legs towards each other becomes greater than ninety degrees.
  • 3 Come on to fingertips with the hands on either side of your hips. Straighten the arms. Extend the spine on an inhale, as if preparing for a backbend.
  • 4 Exhaling, twist your upper body gently more in the direction of your straight leg. For example if your right leg is stretched out, you would turn your torso to the right. This way, even though you are twisting, your upper body is more in line with the direction of the straight leg.
  • 5 Once more extend the spine on an inhale, as if preparing for a backbend.
  • 6 Exhaling, wander the hands on fingertips slowly towards the right foot. Keep your spine extended for as long as possible. Take hold of your foot or ankle and slightly bend your elbows to broaden your collarbones. When you reach your maximum range gently release the head and neck towards your knee or shinbone.

Working The Details: Alignment In The Pose

  • Extend your spine more: With every inhale lengthen your sternum and rib cage towards your big toe, releasing a bit deeper with every exhale. You can even work towards deepening the lordosis in your lower spine. This will give you extra extension while also helping to move your sit bones to the back.
  • Lengthen your hamstrings: Press the heel of the straight leg forwards and/or send your sit bones back and up, creating a more articulated lordosis in your lumbar spine.
  • Open the groin: Use the thigh muscles of the folded leg to rotate the thigh outwardly and back. Concentrically (meaning away from you) extend the thigh bone and knee thus creating more space in the hip joint.
  • Spanda/Dynamic movement: Send your breath awareness into your frontal hip crease to create space and lengthening of the spine with every inhale. Then release the spine and sink a little bit deeper into the pose by tilting the pelvis forwards. Repeat these gentle pulsations of prana alignments a couple of times.

Adapting The Pose Through Modifications

Simplify

  • If you have the feeling that your lower back is rounding, sit yourself up on a neatly folded blanket and pull your sit bones back. You can also bend the knee of the straight leg slightly to avoid locking your pelvic joints and make it easier to fold forward.
  • Support the folded knee with a blanket or block if it is floating high above the ground. This will help to open the hip and decrease strain in the groin and the pressure in the inner knee.
  • Use a strap to get deeper into the pose when the foot of the straight leg is out of reach.
  • Use a block for elevation to rest your head if the shinbone is too far away.

Level Up

  • If you are very flexible, then place a block behind the foot of the straight leg and fold your hands around the block to increase the stretch of the hamstrings.
  • Work actively with the thigh muscles of your folded leg to – first, outwardly rotate the femur (which is your thigh bone), then push the knee away from you (which will give you more space in the frontal hip joint), and lastly engage the muscles in releasing the folded leg more downward into the floor.

Benefits of Janusirsasana

  • As Janusirsasana is part of the forward folds family, it helps to deeply calm the mind, soothe the nervous system and help to relieve anxiety, depression and fatigue.
  • The pose helps to increase flexibility of the tissues, muscles and ligaments of the spine, while gently stretching the nerves of the spinal cord.
  • Holding the pose for a while helps to open up and lengthen the whole back body, especially the hamstrings.
  • Janusirsasana helps to relieve pain and tightness in the lower back, as the big QL muscles (Quadratus lumborum) get a nice deep stretch out.
  • It also helps to open up the frontal hip joint and create more space in the groin and for the psoas muscle (the big hip flexor). This can be relieving for hips that spend a lot of time in a closed position (i.e. when spending much time sitting).
  • The pose helps to tone the liver and spleen, as they are stimulated through the temporary compression. It is like a little internal organ massage and aids with digestion.
  • Janusirsasana also tones and activates the kidneys by stretching and gently opening up the encompassing fascia, which forms like an envelope around the kidneys.

One of my all time favorite poses to finish a yoga class. Janusirsasana combines a twist, forward fold and side body lengthening all at once!

Saskia

Content Manager at Inside | Passionate Yoga Teacher

FAQ: Common questions about this pose

Yes, if it is in your range of motion you should bring the heel as close to the perineum as possible. However, if this is not possible you can have it more in the middle of the thigh. Just be sure to have it not pressing on to the knee of the straight leg. The contact of the heel to the perineum stimulates the underlying nerve bundles of the pelvic floor, which also connects to your inner leg line and the soles of your feet.

No, you can also reach for your shinbone or place your hands on the left and right side next to your thigh. You can even take blocks or a bolster (to make it a Yin pose). The foremost intention of this pose is to extend the spine without rounding your lower back. However high you have to prop yourself to achieve this is low enough. Through regular practice you will build up more capacity to reach towards your foot.

In the beginning, when the hamstrings are quite tight, they will pull your sit bones towards your feet. Make sure to elevate your seat and/or bend your knees, to be able to send your sit bones more to the back. This will prevent your hip joint from locking and give more length and release to your spine, especially your lumbar spine. If you cannot reach the ground with your fingers, you could use blocks or even a chair for support.