Quick Facts

  • Sanskrit (Original): Mālāsana
  • Etymology: Garland, necklace or rosary (mālā), pose (āsana)
  • Fun Fact about the pose: Malasana, also called yogi squat, is regarded as a fitness exercise by Westerners, however in many eastern countries it is an everyday posture for rest, eating or gatherings.
  • Asana Type: Forward Fold
  • Main length muscle groups: muscles_length_muscle_groups
  • Main strength muscle groups: Muscles of the feet
  • Vinyasa Breath: Exhale

How to Cue the Pose: Step By Step

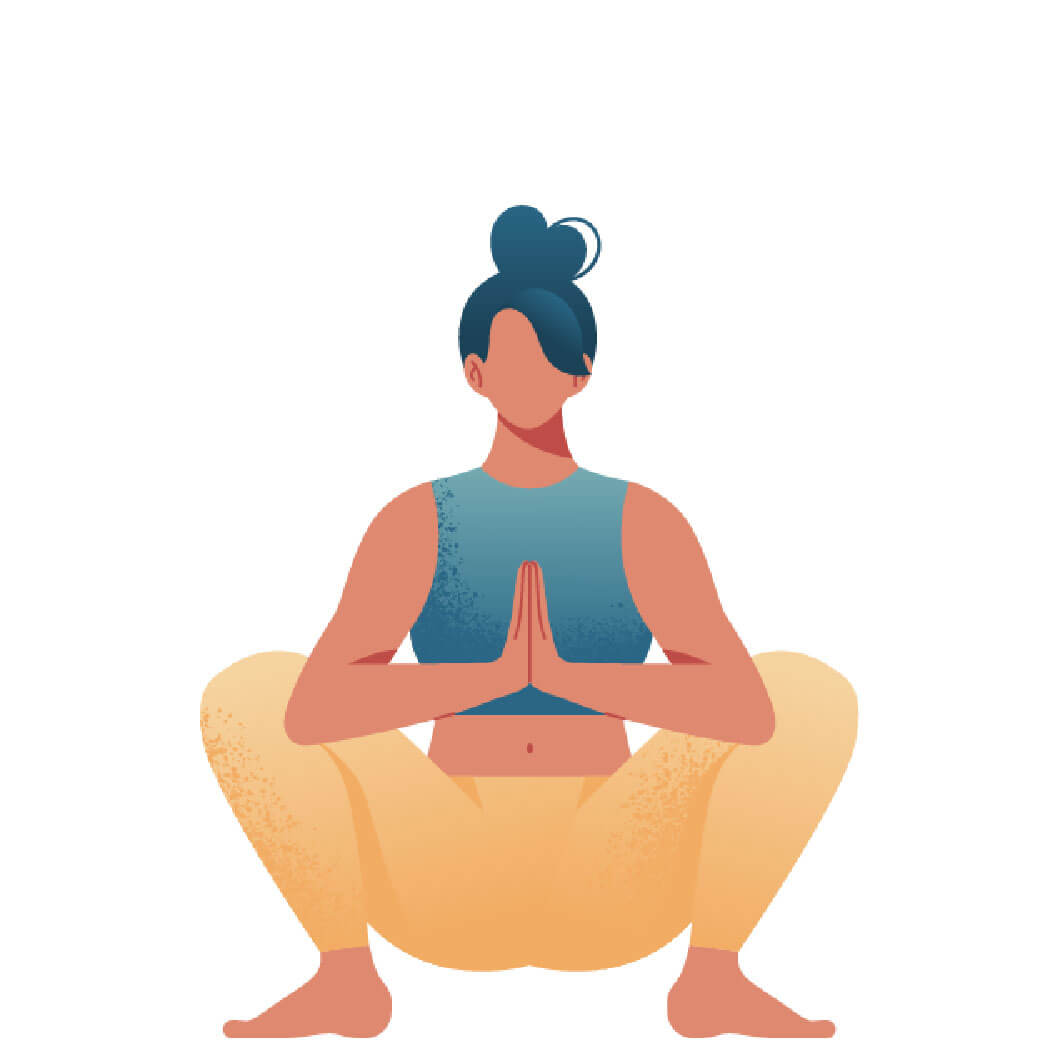
  • 1 Start in a standing pose like Tadasana Namaskar but make your stance shoulder-width, so it is wider than the usual hip-width stance. Turn your toes slightly outwards.
  • 2 Hold your hands in Prayer Pose (Anjali Mudra) in front of your chest. Start bending your knees to sit yourself deeper down while sending your hips backwards in a controlled manner. Keep the midline of the knees pointing towards the midline of your feet. This will prevent your knees from falling inwards as you go deeper.
  • 3 Bring your hips down as deep as you can without the buttocks touching the ground. Engage your thigh muscles to keep your knees moving outwards.
  • 4 Press your elbows into your inner knees and push the knees outwards. At the same time engage your legs, center them and press your knees into your elbows. Gently press your sternum into your thumbs to extend the spine.
  • 5 Gently lift the hips a little bit higher and backwards to also engage your pelvic floor muscles.
  • 6 Take a couple of breaths in Malasana.

Working The Details: Alignment In The Pose

  • Engage the feet: A common observation is shifting the weight of the body into either the inner edge or the outer edge of the foot, which causes tremendous strain on the ankle joint. Observe which of the above is your pattern and work your feet to counteract this tendency. Activate the arches of the feet by pressing the big and little toe mount into the mat and energetically moving the balls of your feet closer to your heels.
  • Engage the pelvic floor: In Squat Pose, also called Garland Pose, it is quite tempting to passively rest your body weight in your hip joints. As comfortable as this may be, it will also prevent your pelvic floor from engaging in the pose, as it tends to become less accessible with all the weight in your hip joints. Keep your hips slightly lifted and moving backwards to activate your pelvic floor in Malasana.
  • Elevate your ribcage: Use the lever of your elbows pressing into your knees to lift your ribcage up and away from the hips. This will not only help you to find more length in your spine, but also to give more space to the lungs, helping them to expand more fully. Additionally, you create counter-pressure here, i.e. biotensegrity.

Adapting The Pose Through Modifications

Simplify

  • Practicing Squat Pose with tight hips can be quite challenging. You can turn your toes even more outwards to create more space for your torso to move in between your legs. Just be sure that your knees are still in line with the midline of your toes to keep the knee joints safe.
  • If you are struggling with the dorsiflexion of your ankles or a tight Achilles tendon and you cannot bring your heels to the ground in Squat Pose, you can elevate your heels with a rolled towel. This will help you to get deeper into the pose. However, be sure to not become reliant on the prop, as it will not train your feet to do the work. So once in a while, you can try without and observe what has changed.
  • For practitioners with tightness or injuries in the knees, it can be quite hard to flex the knees as deep as required for Squat Pose. You can add a bit of a buffer zone by placing a neatly folded towel in the back crease of the knees. Then move into Squat Pose so that the towel is held in between your back thigh and calf. This little distance will bring less compression to your knee joints.
  • The same towel can be placed in the frontal hip crease. As Squat Pose is a deep forward fold for some people the compression in the intensely flexed hip joint can be quite painful.
  • Place a block behind you and allow your sit bones to rest on the block as you lower down. This is especially helpful if your hip mobility doesn’t allow for full flexion (yet). As a result, the torso leans further back and would cause you to fall backwards. Sitting on the block will prevent you from falling over.

Level Up

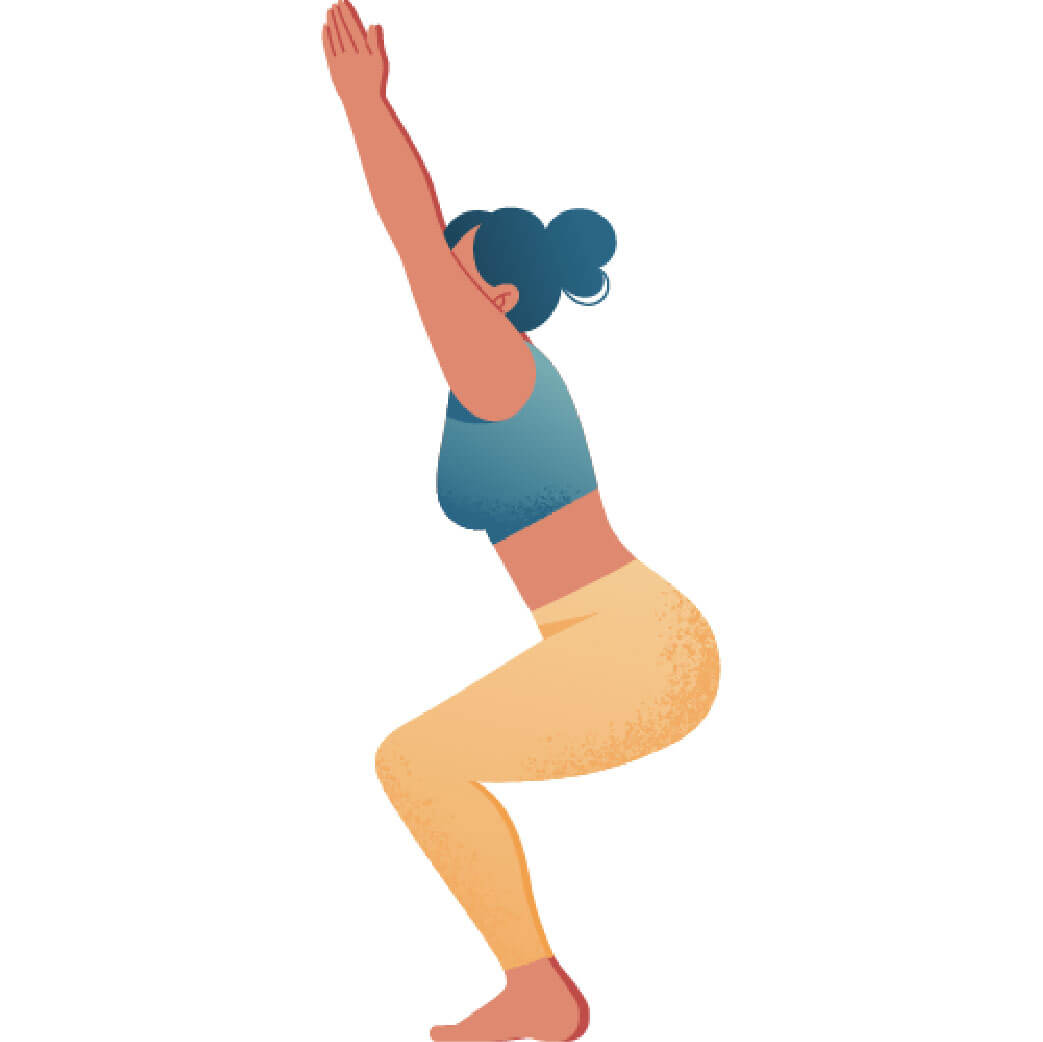
  • Keep your knees pushing outwards and lift your hands away from your chest with your arms extending up towards the sky. Keep your hips slightly lifted. This power pose will work deep into your core.
  • Work in the transitions and jump forward into Squat Pose from Downward-Facing Dog.
  • Deeply engage your core and your spinal muscles by adding a little twist into your normal Squat Pose.
  • Take it a step further and transition from Malasana to Crow Pose.

Benefits of Malasana

  • Malasana or Garland Pose strengthens the entire legs from the glutes and thighs to the calves and ankles.
  • The pose elongates and lengthens the back and builds vigor in the anterior and posterior spine. It also opens and stretches the shoulders and chest.
  • Malasana is a great pose for the pelvic floor. Naturally, the practitioner calibrates between resting the hips a bit to the ground and then activating the legs and pelvic floor again by lifting the hips up and back. In the first case, the pelvic floor muscles are slightly stretched and overly tight pelvic floor muscles will get some release. In the second state, the muscles of the pelvic floor become toned and build more support for the whole structure of the pelvis.
  • As Malasana is essentially a very deep forward fold, its effects can be very calming for the mind, despite the whole body engagement.
  • Squat Pose is a powerful hip opener aiding to bring more space and openness into the outer and inner hip joints.
  • The yoga pose helps you develop core strength and build heat in the body. It thus stimulates the abdominal organs, the diaphragm, and the heart.
  • The Yogi Squat Pose helps you to build stamina and tones the entire body – a great workout for body and mind.

I always have to smile in Malasana as I remember one of my teachers comparing the little lift in the hips to squatting over a camping toilet. Everytime I use the metaphor to teach the class, my students start to giggle as well.

Saskia

Content Manager at Inside | Passionate Yoga Teacher

FAQ: Common questions about this pose

The answer to this question depends mostly on the flexibility of your hips. The more range of motion you have in your hips, the more you will be able to keep your feet almost parallel while moving into Squat Pose. If you have more tight hips, you will quickly notice that the pose is more accessible for you when you broaden your stance and turn your toes outwards. This is totally fine and a nice way of adapting the pose. Just be sure to keep the midline of your knees and the midline of your toes aligned.

Sometimes, Malasana is used as a transition pose, for example coming from Downward-Facing Dog or moving to seated poses. But more commonly the full benefits of Squat Pose can be experienced when you stay in the pose a little bit longer, e.g. for about five to ten breaths. It can also be nice to take a few moments to arrive into the pose before doing all the adjustments to get deeper into it. This will need a bit more time then just transitioning through the pose.

Especially when you are beginning to practice Squat Pose, it is very common to feel sort of hunched over your legs with your back rounding. Most of the time this arises from tight hip flexors which are pulling the torso forward. You can counterbalance by working your legs more and lifting your hips higher and back, which will take some tension off your hip flexors.