Quick Facts

  • Sanskrit (Original): Pādahastāsana
  • Etymology: Foot (pāda); hand (hasta); pose (āsana)
  • Fun Fact about the pose: Padahastasana, together with Padangusthasana, form the first two poses in the standing sequence of Ashtanga Yoga.
  • Asana Type: Forward Fold, Standing
  • Main length muscle groups: muscles_length_muscle_groups
  • Main strength muscle groups: Muscles of the feet and legs (for balance)
  • Vinyasa Breath: Exhale

How to Cue the Pose: Step By Step

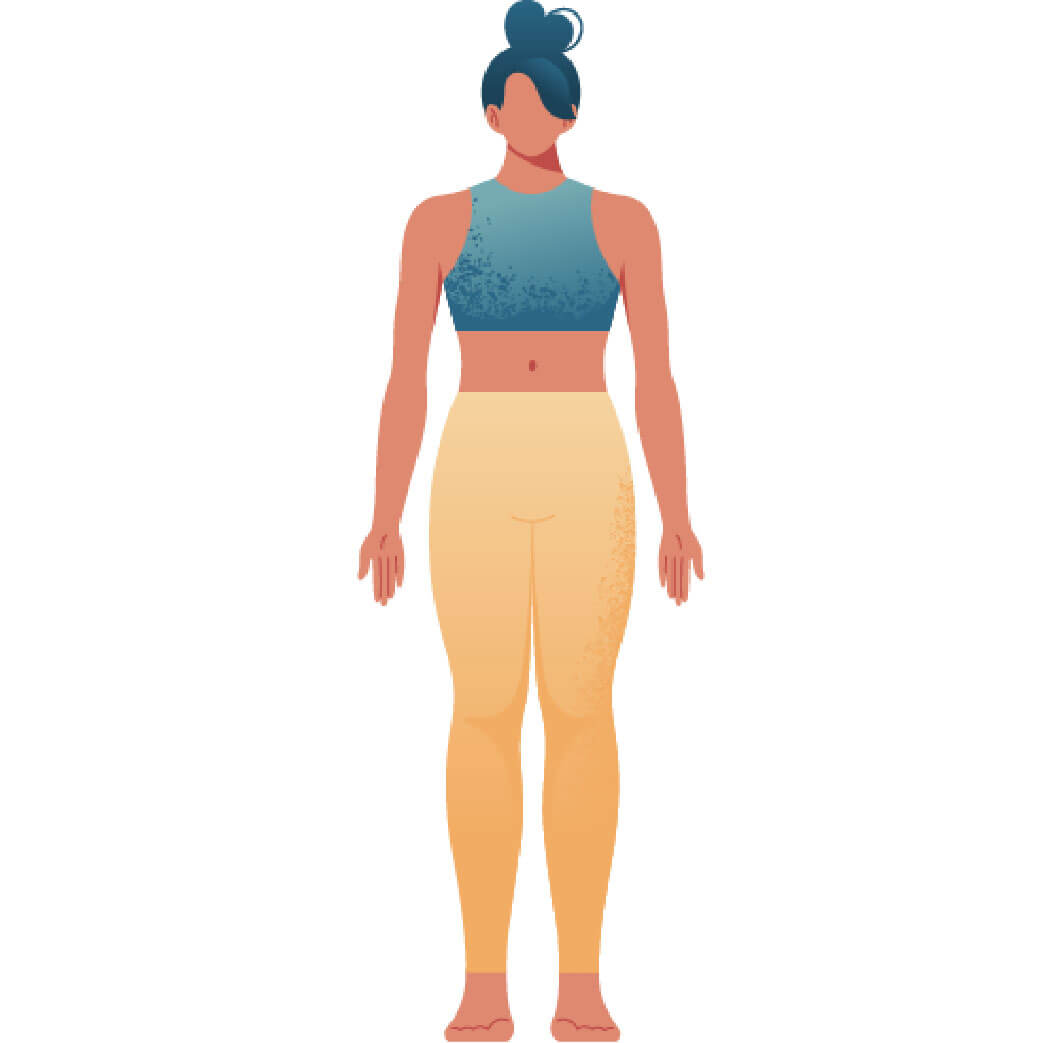
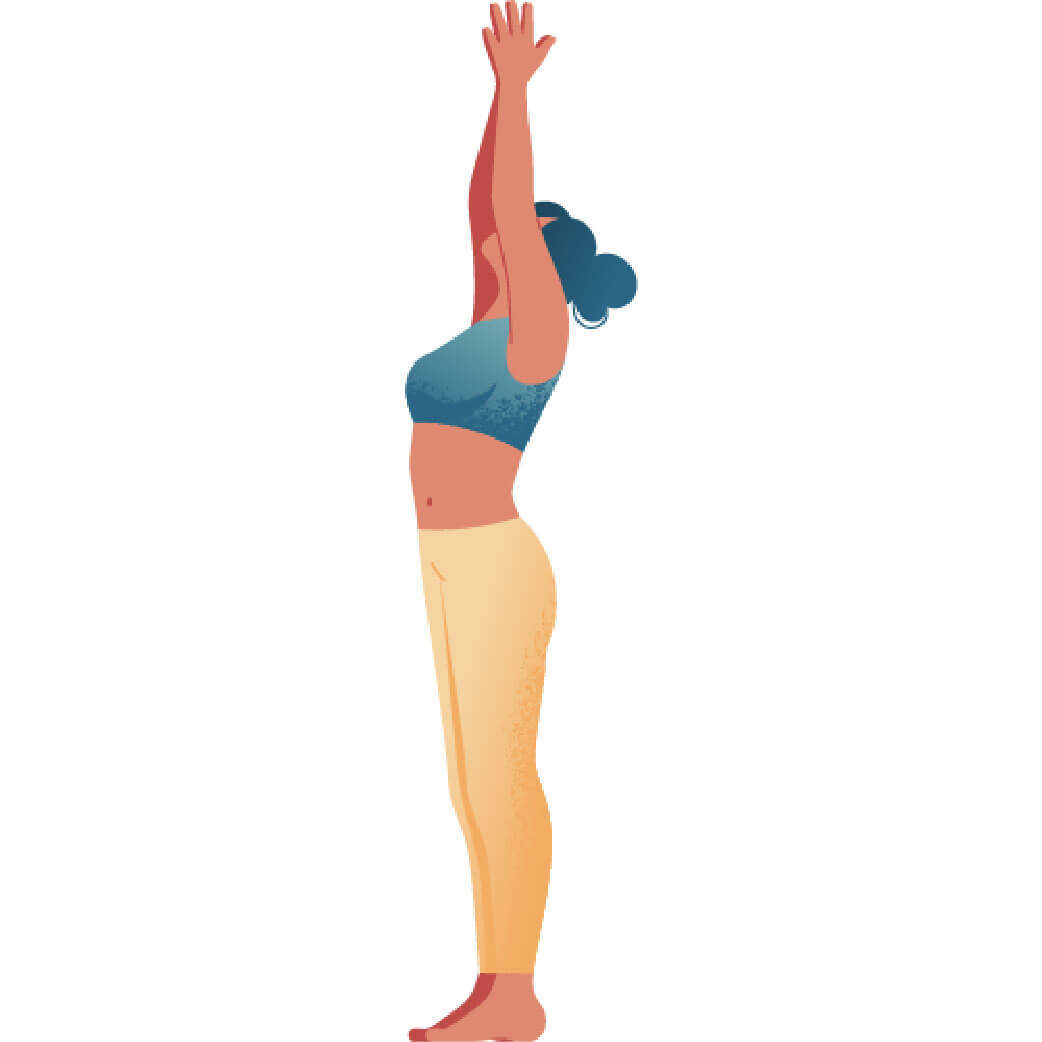
  • 1 Enter Padahastasana from a standing position like Tadasana or Ardha Uttanasana. Take your feet hip-width (or even a bit wider) apart and distribute your body weight evenly on the feet.
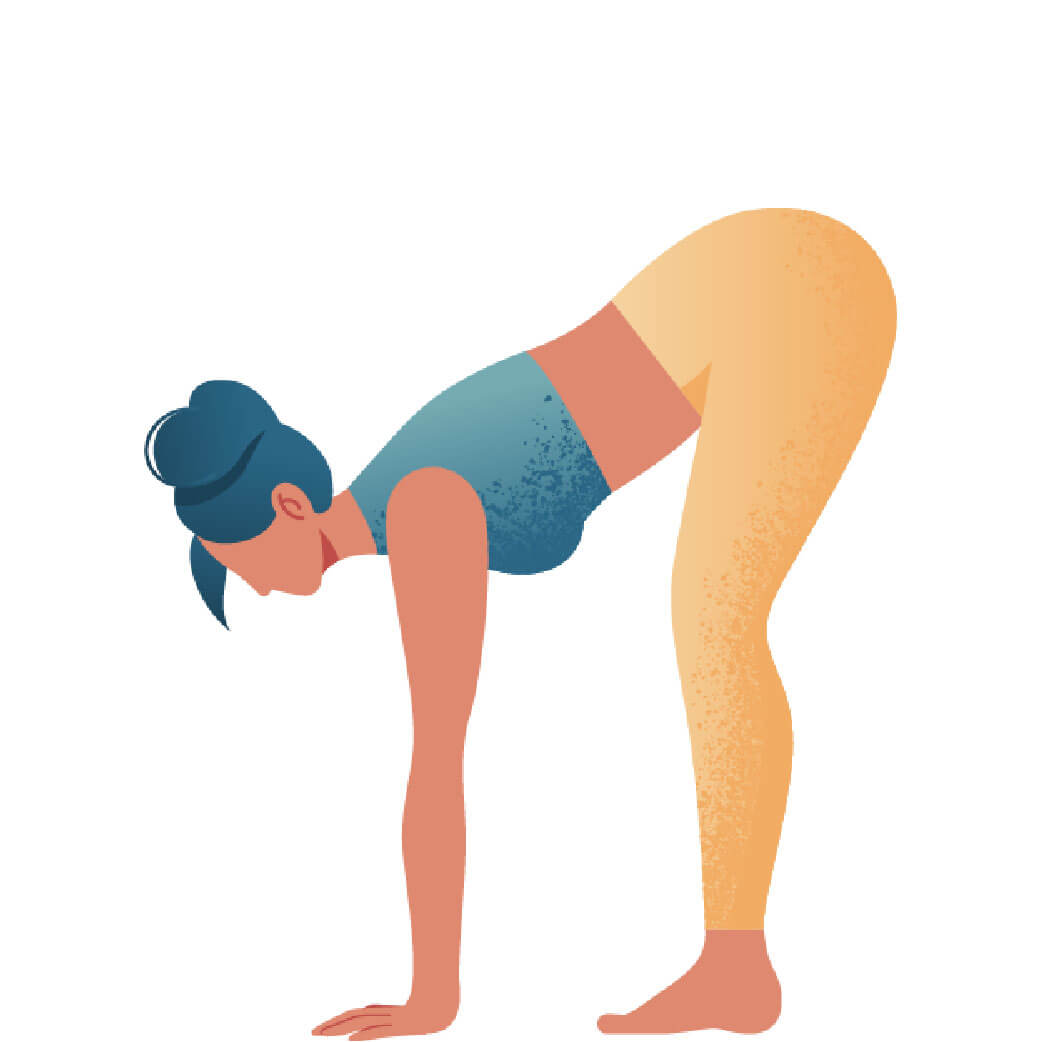
  • 2 Place your hands on your hips and lift your chest on an inhale.
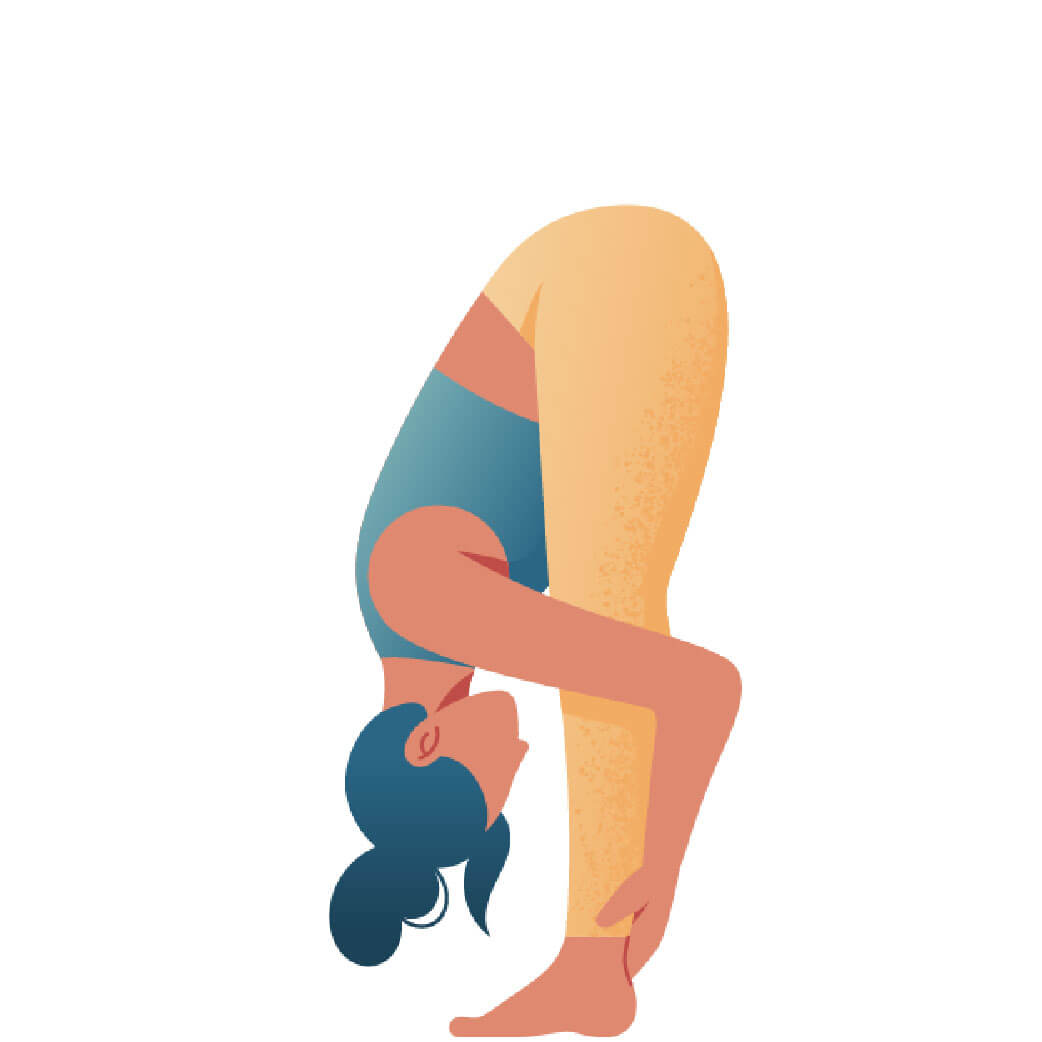
  • 3 Exhale to fold your upper body over your legs. Keep your knees gently bent while folding forward and aim to bring your belly in contact with your thighs.
  • 4 Place the top side of your hands on the floor in front of your feet with the fingers facing towards the toes. From here you can lift the front part of your feet and slide the hands beneath them – hence the name Hands under Feet Pose or Hand-Feet Pose. Alternatively, you can step your feet onto your palms.
  • 5 Explore how far you can step your feet onto your hands. Ideally, you will step right up to the wrists, so that the whole palm and wrist get a nice massage from the feet and body weight. However, this action will be likely to also challenge your balance.
  • 6 Maintain the position of the hands and move into a flat back position on an inhale. So you are doing Ardha Uttanasana with Padahastasana. Lengthen your sternum (breast bone) and the crown of your head forwards.
  • 7 Exhale to fold deeper into Padahastasana.
  • 8 Very softly pull your torso closer to your legs by pulling against the resistance of your fixated hands. Keep the elbows pointing out to the side, as this will provide more space for your collar bones.
  • 9 Be sure to release the head, jaw and the neck completely, so that the crown of the head lowers down in the direction of the ground. This will release any tension in the neck and shoulders.
  • 10 On every inhale, slowly lengthen your sternum slightly forward, so that the spine can extend a bit. On every exhale, release the spine downward into flexion. This will give the muscles and tissues encompassing the spine a nice stretch.
  • 11 If you have the capacity in the back of your legs, work towards straightening your legs.
  • 12 Lift out of the pose on an inhale.

Working The Details: Alignment In The Pose

  • Massaging the palms: The hands and especially the wrists can be, depending on how they are used on a daily basis, rather tense and overworked. You can loosen them up and release tension in Hands under Feet Pose simply through the use of your body’s weight. Alternate between shifting your weight more into your toes and balls of the feet and then back to the heel. This will open up the hands and wrists.
  • Lengthen the back body: Intensify the stretch and elongating of the back body by isometrically pulling your hands forwards against the resistance of the feet. Energetically send your heels back and your sit bones upwards. From here create a little ducktail in your lumbar spine and elongate your spine by pulling the hands. Work this loop a couple of times.
  • Observe the mind: Staying in Padahastasana for several breaths after you have arrived in the pose can be quite a challenge for some. Shift yourself into an observer’s position and notice your habitual patterns in the pose. Do you start to shift weight or fidget with your fingers under your feet? Do you start to move and bend one knee at a time? Whatever comes up for you notice it without judgment and proceed to surrender to the pose in full presence.

Adapting The Pose Through Modifications

Simplify

  • You can adapt the intensity depending on how far you slide your hands under your feet. Simplify the pose by sliding just your fingers or even just your fingertips underneath (instead of the whole hand).
  • If you feel that your back is really rounded and/or that you are pulling your torso down from your frontal hip joint, you can experiment with bending your knees more. Start with creating the pose in a way that your stomach really connects to your thighs. From here gently see how far you can straighten the legs without losing the length in the spine.
  • Give your sit bones some extra height and your hamstrings some extra length by propping up your heels. To do this, simply roll up your mat or a blanket and place it under your heels. You could even use blocks to do this. Try this version also if you feel that you have most of your weight in your heels, as this will educate you to bring more weight into the front part of your feet.
  • If you feel that your frontal hip joint is too tight and compressed, try placing a neatly folded blanket or towel in the crease of your hip joint. This will create a bit more space. Additionally, you can work on sending your breath into that compressed space of the frontal hip joint.
  • Broaden your collar bones and create space for your chest by bending your elbows a bit to the outside. This can help you to let the chest area sink deeper into the pose.

Level Up

  • Explore your sense of balance by shifting more weight to the front and into your toes. Observe at what point you will resist – either from actually losing balance or from thinking you will fall over. Explore how you can expand this boundary step by step.
  • You can lean your back against a wall to work additionally with resistance (i.e. the pushing action of the wall) to deepen the fold.

Benefits of Padahastasana

  • Like all forward folds, Padahastasana has a very deep calming and cooling effect, not only for the body, but also for the mind.
  • Hands under Feet Pose helps to open up the tissues and nerves of the hands and wrists and can thus have a therapeutic effect when dealing with carpal tunnel syndrome.
  • Padahastasana soothes the brain cells and calms down the heart rate, as the whole trunk is basically upside down.
    The pose is also said to refresh the body and the mind and relieve anxiety, headaches, insomnia and fatigue.
  • Padahastasana strengthens and tones the abdominal organs. The slightly compressed state is like a little massage, which can help to improve digestion and overall circulation in the organs.
    It keeps the spine and the nerves of the spine long and flexible as it stretches the whole backline of the body as well as the shoulders and neck area.
  • Padahastasana improves the flexibility of the hamstrings and the hips as it provides quite a deep stretch. This is great for people who sit a lot and often have a shortened backline of the body.
    The knees and legs build up strength and stability in this pose, as they are the main area of muscle activation.

I love Padahastasana because it is a playful and explorative pose. Unfortunately, in my experience it is mostly taught in more traditional yoga styles such as Ashtanga or Iyengar Yoga. I would love to see it in more classes, as I believe it is brilliant for exploring deeper forward folds.

Saskia

Content Manager at Inside | Passionate Yoga Teacher

FAQ: Common questions about this pose

First of all, don't stress about it. A well-known quote about yoga says that ‘yoga is not about touching your toes, it is about what you learn on the way down’. In my eyes this is a great guideline to approach Padahastasana when you have tight hamstrings. With gradual practice, your hamstrings will become more flexible and one day you will potentially be ready to do the full pose. Until then you can vary how much of your hand you slide underneath your feet. You can start with just your fingers or even your fingertips fixated under your feet. Another option is to practice the normal Forward Fold (Uttanasana) instead. Here you can bring the floor closer to you by using blocks to elevate your hands.

As the placement of the hands beneath the feet can consume some time, Padahastasana is not really suitable to practice in a very dynamic Vinyasa class. Take your time to settle in the pose and stay as long as you like. The common recommendation is to hold the pose around five to ten full breath cycles (one inhale and one exhale equals one full cycle of breath).

In the beginning when the hamstrings are quite tight, they will pull your sit bones towards your feet. Bend your knees as much as you need to, to be able to send your sit bones more to the back and up. This will prevent your hip joint from locking and give more length and release to your spine, especially your lower back.