Quick Facts

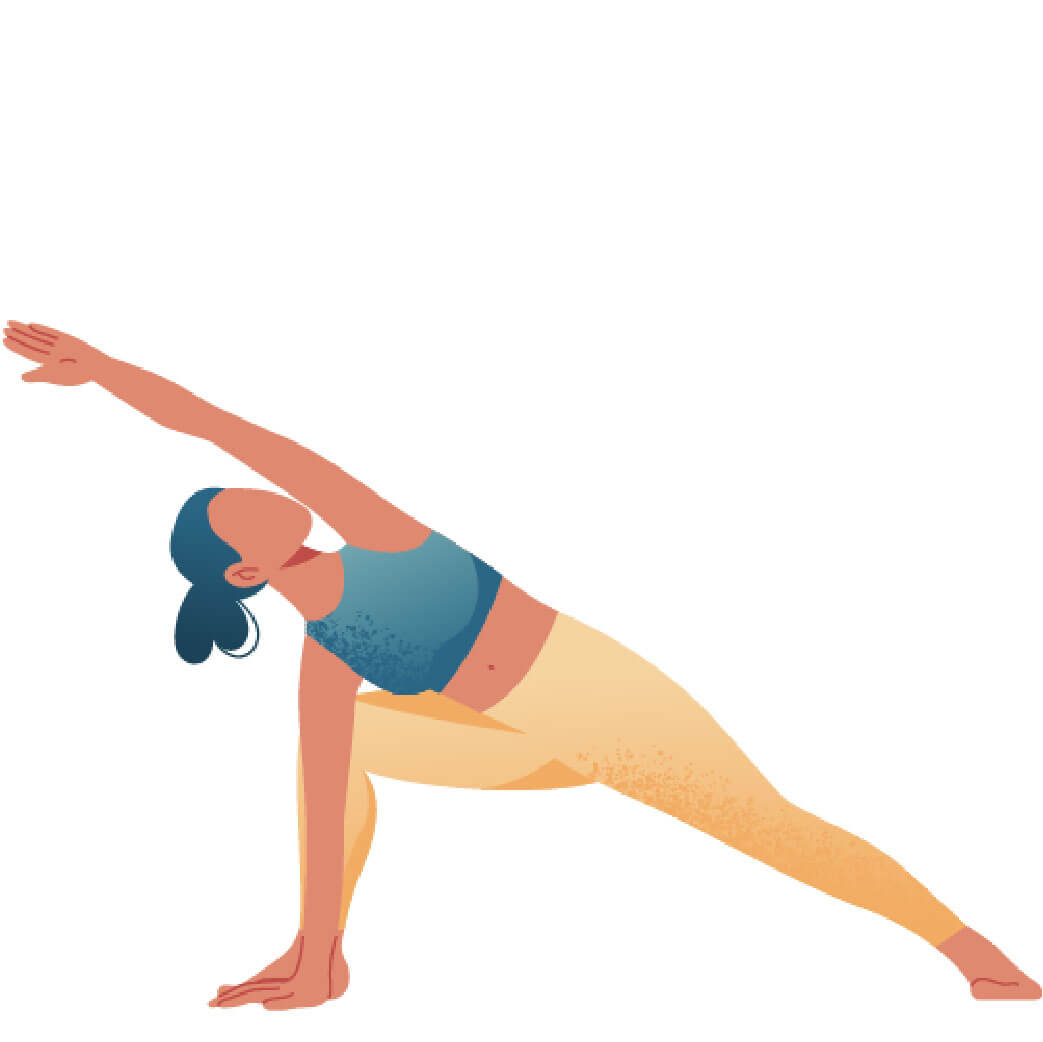
  • Sanskrit (Original): Parivṛtta Trikoṇāsana
  • Etymology: Revolve (parivṛtta); three (tri); angle (koṇa); pose (āsana)
  • Fun Fact about the pose: This pose is like a Swiss Army Knife as it includes all kinds of movement: forward bending, twisting, lengthening, and strengthening.
  • Asana Type: Standing, Twist
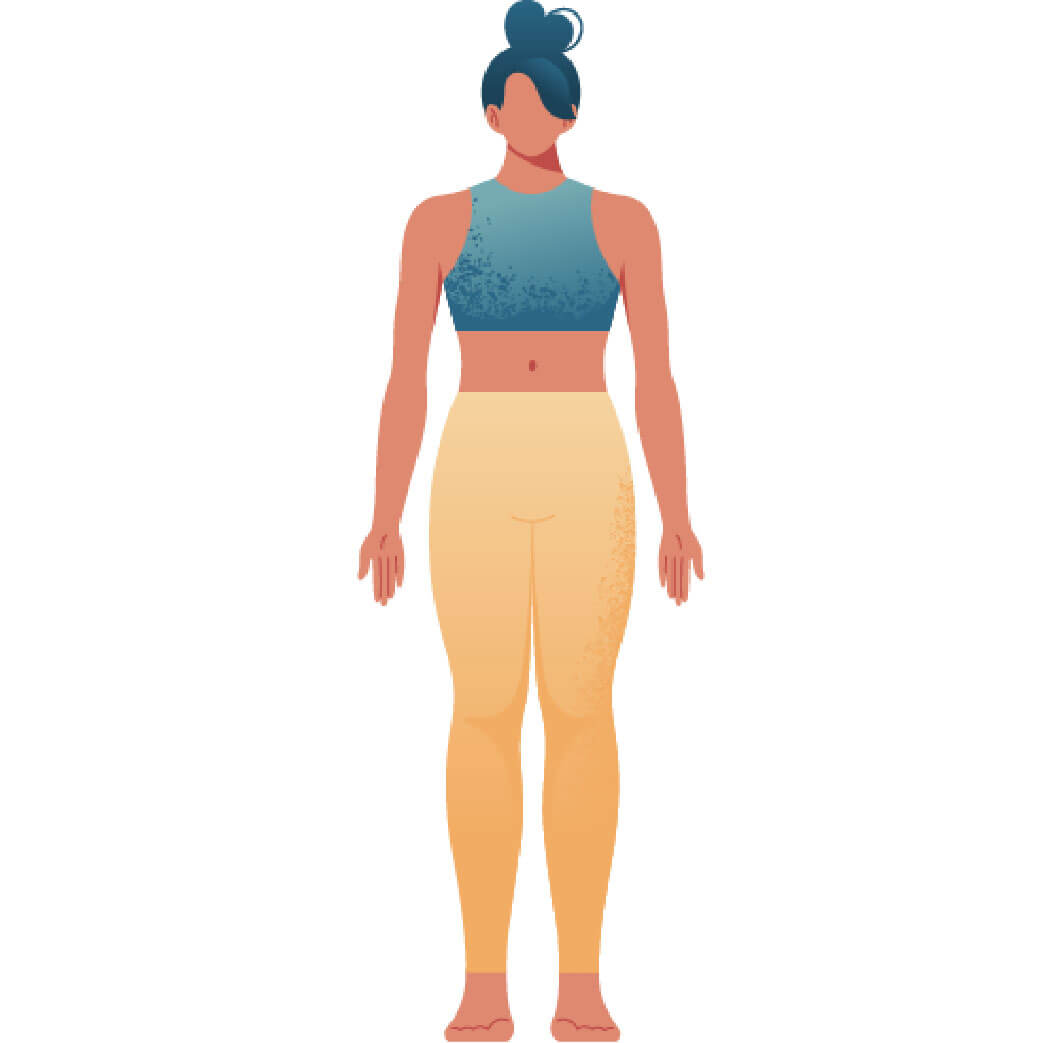
  • Main length muscle groups: muscles_length_muscle_groups
  • Main strength muscle groups: Spinal rotators; serratus anterior; rotator cuff muscles; in both legs: articularis genu, vastii; back leg: muscles of the feet
  • Vinyasa Breath: Exhale

How to Cue the Pose: Step By Step

  • 1 To get into Revolved Triangle Pose, start in a slightly modified Warrior II stance: The toes of the front foot face the short edge of the mat and the back foot is at a 45-60 degree angle.
  • 2 Bring both legs towards straight; you can keep them slightly bent. Firmly push the outside of the back foot into the mat and pull your feet isometrically towards each other to engage the leg muscles.
  • 3 Square the hips so that both hip bones face forward like headlights.
  • 4 Lift the chest and chin up to elongate the spine.
  • 5 Start twisting slightly towards your front-leg side before bending forward.
  • 6 Place the fingertips of the back-leg side arm on the inside or outside of the front leg (depending on your spine’s ability to twist). The position of your hand depends on your flexibility so that it may be on the shin or – if your range of motion allows – further towards the ankle.
  • 7 Extend the other arm up to the sky, the palm is facing away from you.
  • 8 Inhale to push your sternum forward and elongate the spine; exhale to turn your belly button further towards your front thigh.
  • 9 Preferably, keep the head in a neutral position so that the chin and sternum are in one line. If you feel comfortable, you can also turn your head to look at your top hand.
  • 10 The fingertips of both hands pull away from each other.
  • 11 Lift yourself out of the pose on an inhale.

Working The Details: Alignment In The Pose

  • Twist from the pelvis: A lot of the rotation in Revolved Triangle Pose comes from the pelvis and the legs. If your legs and pelvis are not mobile enough to rotate as much as required, you’ll be likely to flex the spine in order to compensate for this lack of mobility. However, rotating the spine in a flexed position may result in overmobilizing the spine. To avoid this, resist the temptation of using the pressure of the front hand against the front leg to force your body into a deeper rotation. Instead, respect the limited range of motion in your spine.
  • Outwardly rotate the front leg: You’ll be better able to square the hips if you outwardly rotate the front leg. To do so, actually grab the fleshy part of your front thigh and actively roll it outwards with your hands before you start to bend forward.
  • Work with your breath: Twisting poses are always easier accessible when you use your breath. As a rule of thumb, inhale to lengthen your spine (i.e. lift the sternum) and exhale to twist deeper (i.e. move your belly button further towards your front thigh). You can repeat those two actions as often as you like until you feel you’ve reached your maximum twist.
  • Align your heels: Traditional teachings suggest keeping the heels of both feet in one line. However, if you feel that this does not allow you to square your hips, you can also increase the space between your feet as if you were standing on train tracks.

Adapting The Pose Through Modifications

Simplify

  • Narrow your stance to make the pose more accessible. Placing the feet as if on train tracks instead of aligning them in one line also makes the pose easier.
  • Use a block on the inside or outside of your front foot to rest the bottom hand on the block. In general, keeping the hand on the inside of the front leg makes Revolved Triangle Pose easier as this makes the twisting action less intense.

Level Up

  • Keep the fingertips of the bottom hand in the air instead of resting them on the ground. This way, you need to engage your core muscles even more to keep your torso in the right position.
  • If your range of motion allows, place the entire palm of the front hand on the ground. This will bring your body into an even deeper twist. Beware, however, to respect your range of motion instead of pushing yourself into the twist.

Benefits of Parivrtta Trikonasana

  • Revolved Triangle Pose challenges both your stability and your mobility. This is why it is a great strengthening pose for your entire legs, namely the hamstrings, calves, and thighs.
    It also increases the mobility of your hip and spine.
  • You need a lot of core strength to maintain this pose, this is why practicing it will strengthen your core muscles, notably the obliques.
  • Since the intrinsic and extrinsic muscles of both feet need to work a lot in order to maintain the integrity of the feet, you’ll also train these muscles. This is beneficial to maintaining the natural arches of your feet.
  • In addition, this pose provides an intense stretch for the back body muscles, especially the latissimus dorsi of the top-arm side, as well as both the hamstrings and thigh of the front leg.
  • If you focus on working with your breath while twisting, Parivrtta Trikonasana also is a great tool to train your breath awareness and, thus, calm your mind.
  • The deep twisting acts like a massage for your abdominal organs, which can improve the functioning of your digestive system.
  • The balancing aspect of Revolved Triangle Pose also trains your sense of equilibrium as well as your focus and concentration.

Don’t be afraid of using your own hands to bring your front thigh into outward rotation. Touching yourself in this way may feel weird at first, but it’s actually one of the greatest ways to adjust yourself.

Saskia

Content Manager at Inside | Passionate Yoga Teacher

FAQ: Common questions about this pose

No, you don’t have to. There’s actually no benefit to looking upwards (except that it may look cooler). If you don’t feel any compression in your neck, you can turn your gaze upward. However, for most people, it will feel more comfortable if the neck is in a neutral position, i.e. you’re facing forward or even down toward the ground.

If you feel a very strong pull especially in the backsides of the front leg, there’s nothing wrong with keeping a slight bent in the front knee. This will not only prevent you from overstretching your hamstrings, but will also give you a little extra range of motion in your hip to keep it square (remember the action of unlocking your joints?). What is more, if you’re rather on the hyperflexible side of the spectrum, you may tend to overextend your knees. Keeping them slightly bent actually forces you to engage your leg muscles more. This will keep your knees happy and healthy.

No, your body is never the problem. Instead of focusing on what is NOT possible in a certain pose, rather find a solution how you can adapt the pose to meet the requirements of your body. If you can’t put the heel of the back foot on the ground, this is likely due to tight hamstrings. You have different options to still perform the pose: You can either narrow your stance or increase the distance between the feet. Imagine you’re standing on train tracks. They can be as wide as required for you to perform the pose.