Quick Facts

  • Sanskrit (Original): Pārśvottānāsana
  • Etymology: Side (pārsva); intense (ut); stretch (tān); pose (āsana)
  • Fun Fact about the pose: There is hardly any pose in yoga where the name gives an exact description of what the pose does: Intense Side Stretch Pose. What more is there to say?
  • Asana Type: Forward Fold, Standing
  • Main length muscle groups: muscles_length_muscle_groups
  • Main strength muscle groups: Spine: erector spinae; front leg: hamstrings, gluteus muscles, piriformis; back leg: hamstrings, gluteus muscles; muscles of the feet
  • Vinyasa Breath: Exhale

How to Cue the Pose: Step By Step

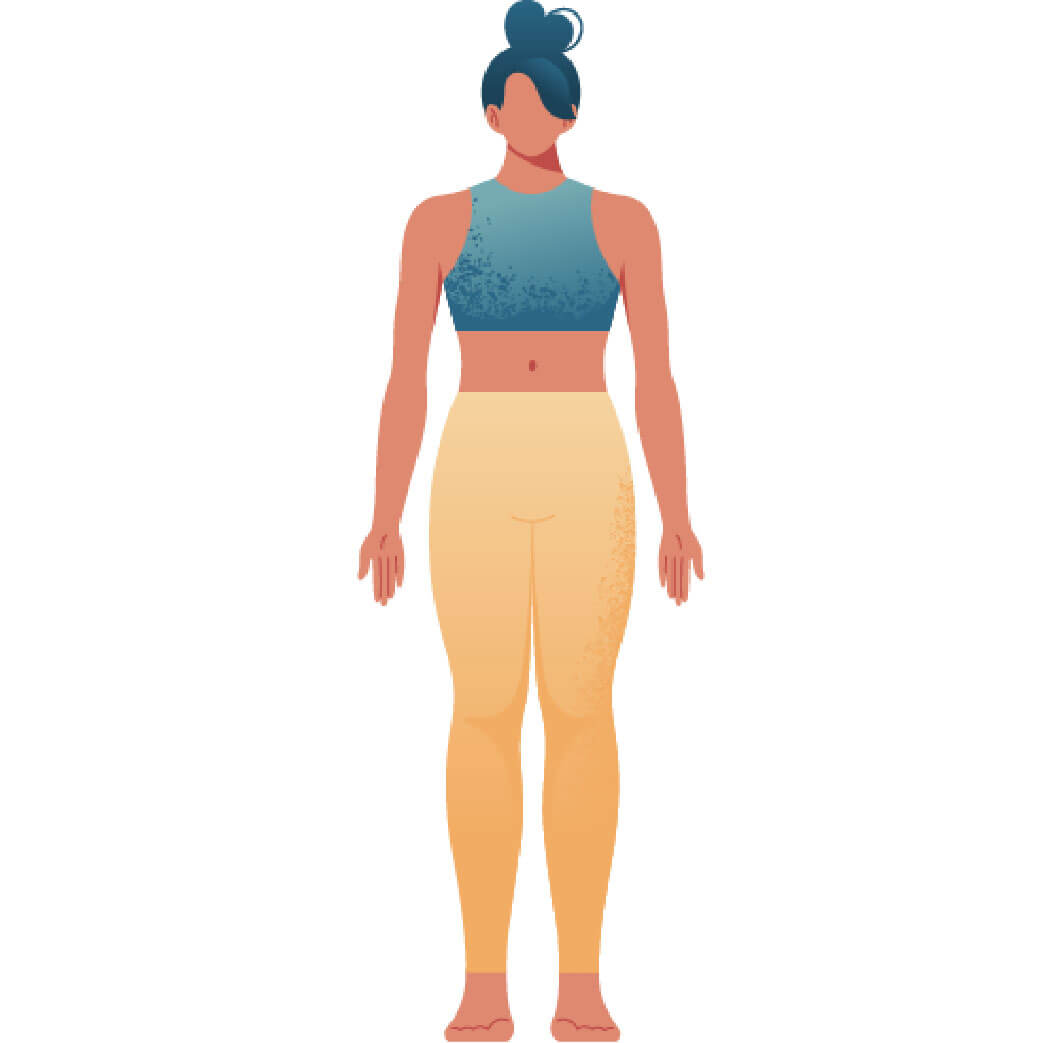
  • 1 Start in a standing position like Tadasana and step one foot back. The stance is a little narrower than it would be in Virabhadrasana I.
  • 2 The front foot points directly forward towards the short edge of the mat while the toes of the back foot are turned out about 60 degrees. Traditionally, both heels are in one line, but increasing the distance as if you were standing on train tracks can make this pose more accessible.
  • 3 Square the hips so that both hip bones face forward.
  • 4 Pull the legs isometrically toward each other to engage the legs.
  • 5 Straighten both legs as much as available to you. You can keep a slight bend in your knees if your hamstrings do not provide enough length or if you tend to overextend the knees because your hamstrings are really flexible.
  • 6 On an inhale, lift the chest and the chin up so that your torso is upright.
  • 7 Draw the shoulder blades back to create a slight backbend.
  • 8 Pull the navel in and up towards your spine to engage your abdominal muscles.
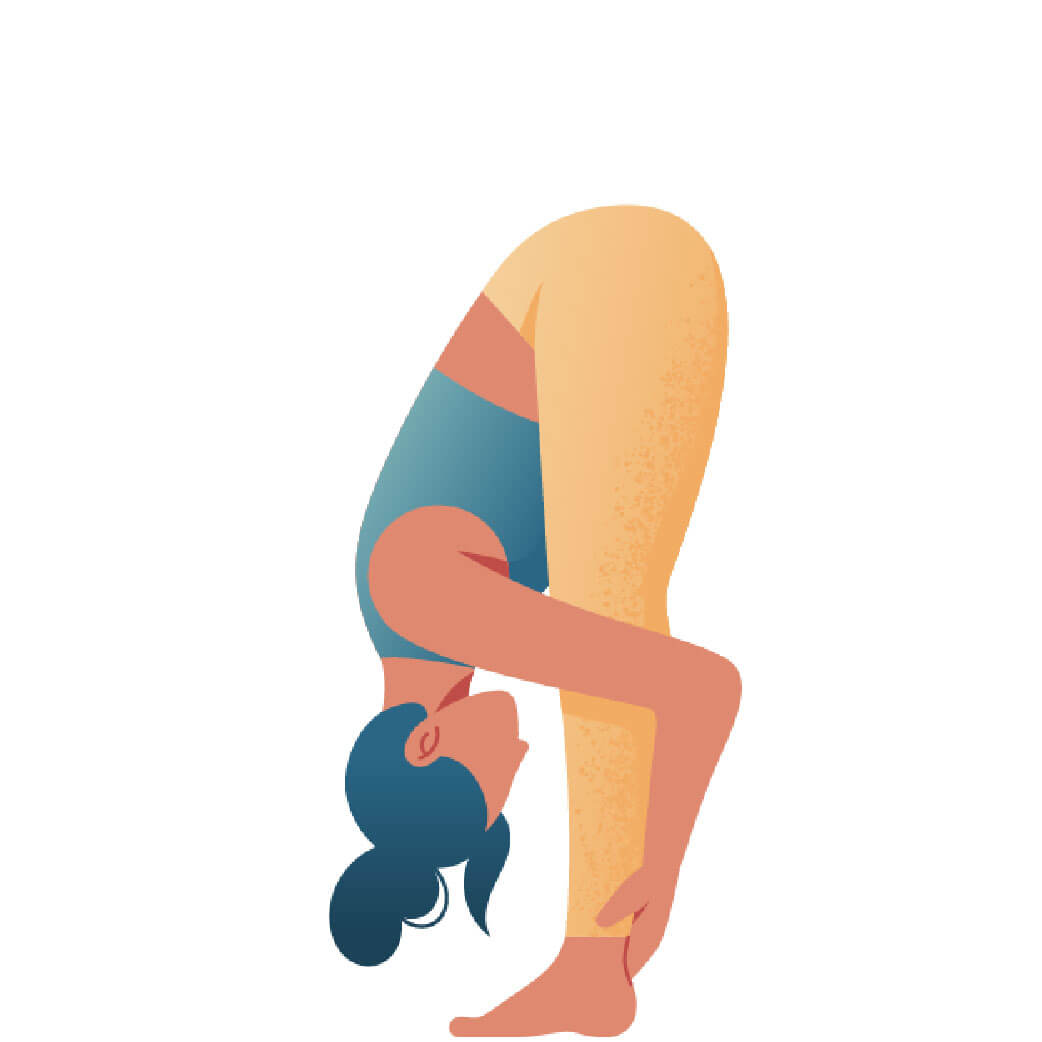
  • 9 With an exhale, start hinging forward from the hips while maintaining a straight back.
  • 10 Rather than aiming to bring your forehead towards your knee, focus on connecting your belly with your front thigh.
  • 11 If your hip flexibility allows for enough range of motion, place the palms of your hands on the ground. Otherwise, you can use yoga blocks to bring the ground closer to you.
  • 12 Push the tailbone backward as the sternum moves forward.
  • 13 Focus your gaze on your front toes.
  • 14 Come out of the pose with an inhale. Bring your hands back onto your hip crease, engage your core and lift your torso up. Actually, use your abdominal muscles rather than your lower back.

Working The Details: Alignment In The Pose

  • Square the hips: If your hips or your hamstrings don’t allow you to keep the hips square, modify the pose by placing the feet a little wider and/or bending the knees slightly. Outwardly rotate the front thigh and, if necessary, use your hands to push the back hip forward and the front hip back.
  • Maintain the backbend: Remember that every forward bend also is a backbend. Resist the temptation to bend further forward if this happens at the expense of the backbend.
  • Use your breath to work dynamically: Once you’re in Parsvottanasana, continue working dynamically in this pose by lifting the sternum with every inhale and bringing the belly closer to the thigh with every exhale.
  • Lift up before folding down: It is easier to keep the back straight if you focus on its correct alignment before you actually start to lean forward. To do so, lift up the crown of your head, maintain a long neck and push your sternum up. Maintain these actions as you start moving your torso towards your front leg.

Adapting The Pose Through Modifications

Simplify

  • Use blocks on each side of your front foot to rest your hands on. This brings the ground closer towards you and, as a result, you don’t have to bend forward as much. This is especially helpful if your hamstrings still need some time to create the required space.
  • If you don’t have any blocks handy, you can also place your hands onto your front shin. This way, you can actually work better towards the full expression of the pose as you can gradually walk your hands further down.

Level Up

  • If you’re able to place your palms on the ground, you can walk your hands even further forward. This will draw your upper body closer towards your front thigh and elongate the spine more. As a result, your body will be able to experience a much deeper stretch.
  • For a more intense shoulder stretch, wrap your arms around your back and take hold of opposite elbows or even bring the hands in Namaste on your back.

Benefits of Parsvottanasana

  • As the translation of the name Parsvottanasana (Intense Side Stretch Pose) suggests, it stretches large parts of the body: the entire back, the chest and shoulders, as well as the legs, namely the hamstrings.
  • Since the entire spinal cord is elongated in this pose, it creates sustainable space between the vertebrae and, thus, increases the flexibility of the entire spine.
  • The forward-bending action gives your abdominals a good massage, which can promote digestion.
  • As this pose requires a lot of balance and coordination, it increases body awareness and focus.
  • Working in harmony with your breath draws your attention to your breathing and, thus, calms the mind.
  • Staying in the pose for some time has a distressing effect as the muscles can relax more and more with time.
  • Due to the intense stretching, Parsvottanasana can function like a deep tissue massage and even reaches the fascia.
  • If you really focus on the backbending and shoulder opening, this pose can also enhance your breathing capacity.

I personally love working dynamically in this pose rather than holding it statically. In a wave-like motion, I lengthen my spine with every inhale and draw my belly deeper towards the thigh on each following exhale.

Saskia

Content Manager at Inside | Passionate Yoga Teacher

FAQ: Common questions about this pose

Well, the first tip – which you probably won’t like – is to have patience. As the name suggests, this pose is a very intense stretch for almost the entire body. This means that it also requires a lot of flexibility to get into the pose. However, you can adapt it by keeping a slight bend in the knees and/or increasing the lateral distance between your feet. Plus, there’s nothing wrong with placing your hands on blocks if you need to.

Ideally, your weight is distributed evenly on both legs. However, due to the forward-bending action, the tendency is to put more weight onto the front leg, which puts your front knee at risk. To prevent this from happening, consciously push the heel of your back foot into the ground and send your tailbone backward.

The first thing to consider is body awareness: Think of your hip bones as headlights of a car that face forward. Bring both hands to your hip bones and push the front hip back and the back hip forward (read that again!). Aid this movement by outwardly rotating your front thigh with your hands. Also, squaring your hips will be easier if you decrease your stance but increase the lateral space between your feet.