Quick Facts

  • Sanskrit (Original): Tāḍāsana
  • Etymology: Mountain (tāḍa), pose (āsana)
  • Fun Fact about the pose: Mountain Pose looks so simple, yet if done correctly and intentionally it is a full body pose.
  • Asana Type: Standing
  • Main length muscle groups: muscles_length_muscle_groups
  • Main strength muscle groups: Muscles of the feet and ankles, quadriceps, pelvic floor, abdominal muscles, muscles of the spine
  • Vinyasa Breath: Inhale and exhale possible

How to Cue the Pose: Step By Step

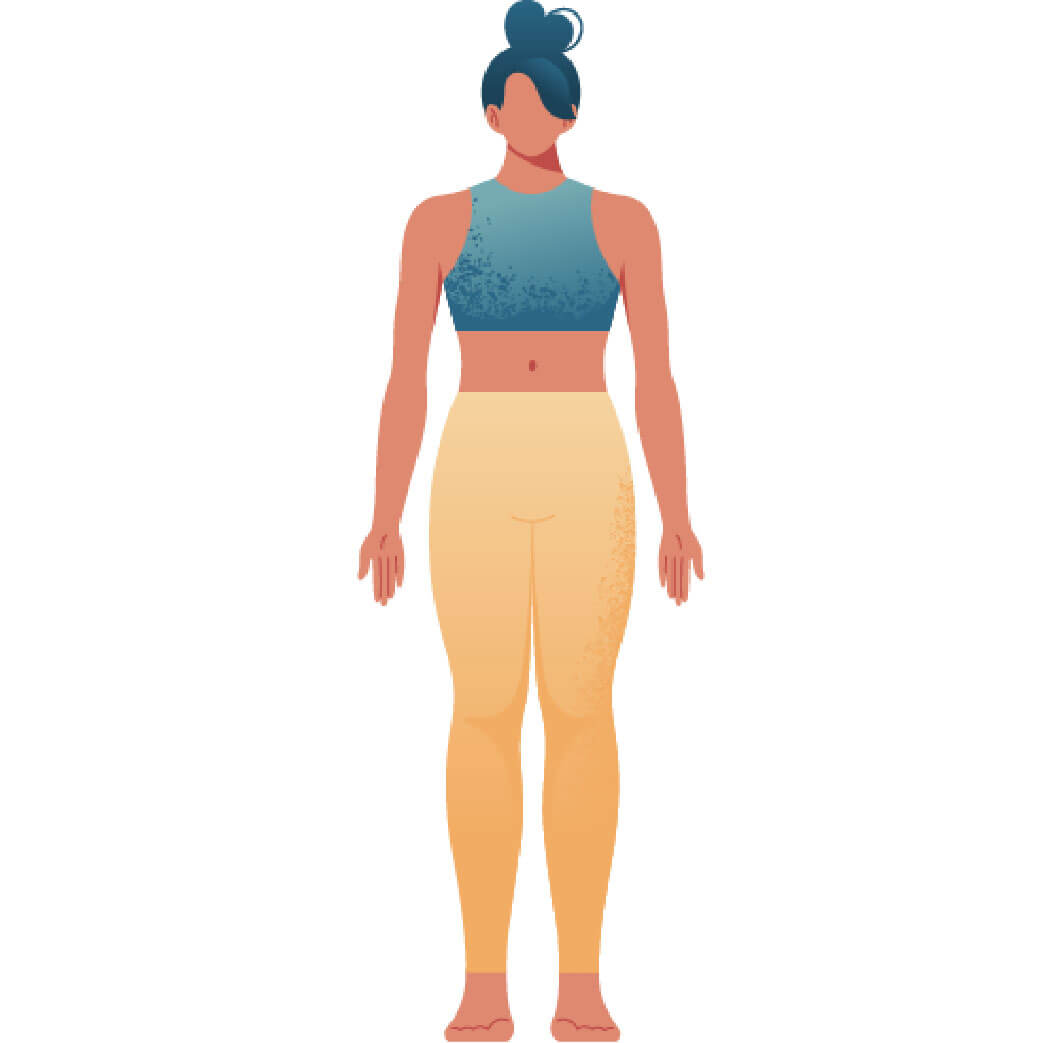
  • 1Set the feet hip-width and parallel so that the midlines are parallel. The midline starts at the center of the ankle and runs to the base of the second toe. Hip-width apart refers to the width of the hip joints and not the outside of the pelvis. This is why standing hip-width is usually narrower than most yoga students think.
  • 2The arms are placed alongside the hips, you can even turn out the hands to have your palms facing forwards.
  • 3Keep the four corners of the feet evenly grounded. The four corners are: the mount of the big toe, the inner heel, the mount of the small toe, and the outer heel.
  • 4Lift up the centers of the arches of the feet. You can do this by drawing the big toe mount and the heel closer towards each other.
  • 5The shins hug the midlines toward each other and the tops of the shins move forward. This creates a gentle hollow in the back of the knees.
  • 6The thighs do the exact opposite: They widen and the tops of the thighs move back to create a little hollow in the hip area. This also creates a slight curve in the lower back
  • 7The sides of the waistline lift up. This results in the ribs and the armpits floating higher. At the same time, try to relax the shoulders.
  • 8The shoulders and the collarbones broaden as if you were to press the shoulders out to the sides.
  • 9The throat is open and the crown of the head lifts up towards the sky.

Working The Details: Alignment In The Pose

  • Lifting up the knee caps: A common thing happening in Tadasana is that all the attention is going down to the alignment of the feet and the legs are not engaged. A simple way to engage your legs in Mountain Pose is to draw the kneecaps up which will automatically engage your leg muscles, especially the quadriceps.
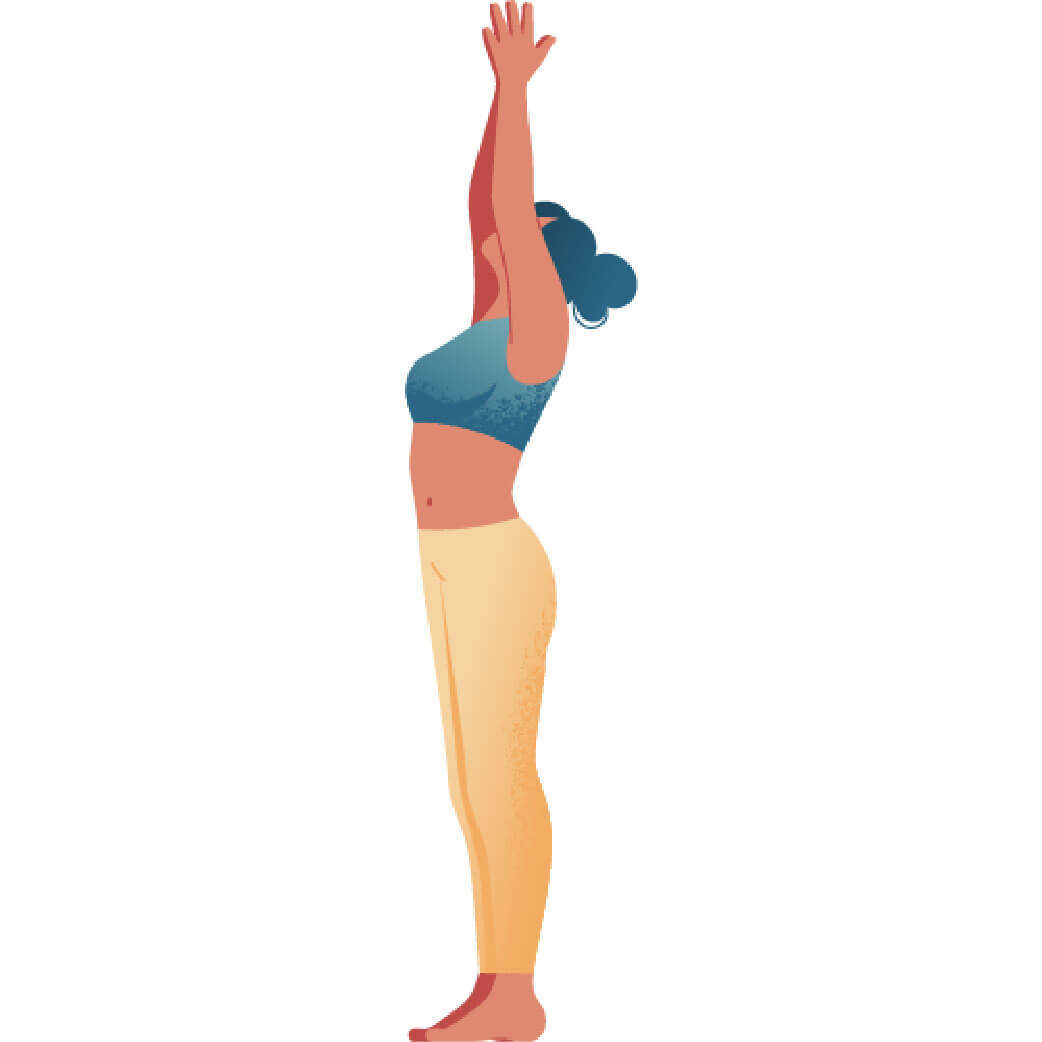
  • Extending in two directions: Tadasana is the alignment of the body between the space above and the earth below. You can emphasize this notion by rooting down through the feet and at the same time lifting the ribcage up and away from the hips to make the upper body become light.
  • Reaching out through the crown of the head: A beautiful image for the alignment of the neck and head in Mountain Pose is to visualize a golden thread attached to the crown of your head (the topmost part of the head). Imagine someone slightly pulling this thread up lifting your head and elongating the neck.
  • Squeezing a block with the thighs: This helps to better engage the thighs. Squeeze the block together and then push it slightly backward to feel the rotation of the thighs.

Adapting The Pose Through Modifications

Simplify

  • If you have difficulties bringing the pelvis into a neutral position, bend the knees slightly. This allows you to lengthen the tailbone. Once you have created enough length, straighten the knees again without hyperextending them as this will create a joint lock in the pelvis.
  • You can take out the pull of gravity and practice Tadasana lying on the floor with the feet ‘standing’ against the wall. Engage all the muscles as if you were standing and pay attention to all the alignment details.

Level Up

  • To level up the pose and find the perfect alignment in Mountain Pose you can practice it against a wall. Place your feet parallel and hip-width apart in front of the wall. Your buttocks, the shoulder blades, and the back of the head should slightly touch the wall. Also draw the lower part of the rib cage toward the wall. Ground down through the feet while at the same time lengthening through the crown of the head.
  • You can work more on activating the abductor muscles in Tadasana by using a yoga belt around the shins. It should be tight enough that you feel some resistance when you push out against it. Also, keep the feet parallel and the knees soft to avoid hyperextending them. Push the feet away from each other as if you were trying to tear the strap apart. This will most likely not happen, but allows you to feel the engagement in the abductor muscles.
  • Try practicing Mountain Pose with your eyes closed to challenge your balance and tune into your proprioception (your body’s ability to know where you are in space).

Benefits of Tadasana

  • Tadasana has many benefits. Correctly executed, it will use every muscle in the body. It can not only improve general posture and body awareness, but also strengthens the thighs, knees, and ankles. You may even start sweating if you engage the leg muscles strongly enough.
  • Since Mountain Pose helps establish good alignment, it can also improve your alignment in a variety of other standing postures as well as in inverted poses like arm balances.
  • Engaging the feet correctly by lifting the arches of the feet up may reduce flat feet.
  • Since the lower back lengthens if Tadasana is practiced properly, Mountain Pose can also relieve sciatica and back pain.

For me it is very important to pay special attention to the alignment of Mountain Pose every once in a while in my practice. This makes it easier to not slack in Tadasana and make it a habit to stand in good alignment

Saskia

Content Manager at Inside | Passionate Yoga Teacher

FAQ: Common questions about this pose

Both versions are taught and are okay to practice. However, the more sustainable version to practice Tadasana is with the feet hip-width apart. Keeping the feet hip-width apart corresponds to the body’s plumb line, i.e. the line of gravity. When things are in a straight line, the weight naturally travels down that line and this is therefore the most energy-efficient way to carry the body weight. So, why have many been taught to keep the feet together with the big toes touching? Maybe simply because it looks better. From an anatomical perspective, there is no reason why you should keep the feet together. On the contrary, the line of force is at an angle that requires more energy. Thus, placing the feet hip-width apart is the safest way for the feet and the knees to carry the body weight. Just think of skyscrapers: They are also vertical and not at an angle. Can you imagine what would happen if they had skew foundations? The same is true for the legs.

https://tintyoga.com/wp-content/uploads/2022/03/19_Tadasana-300x300.jpg

https://tintyoga.com/wp-content/uploads/2022/03/19_Tadasana.jpg