Quick Facts

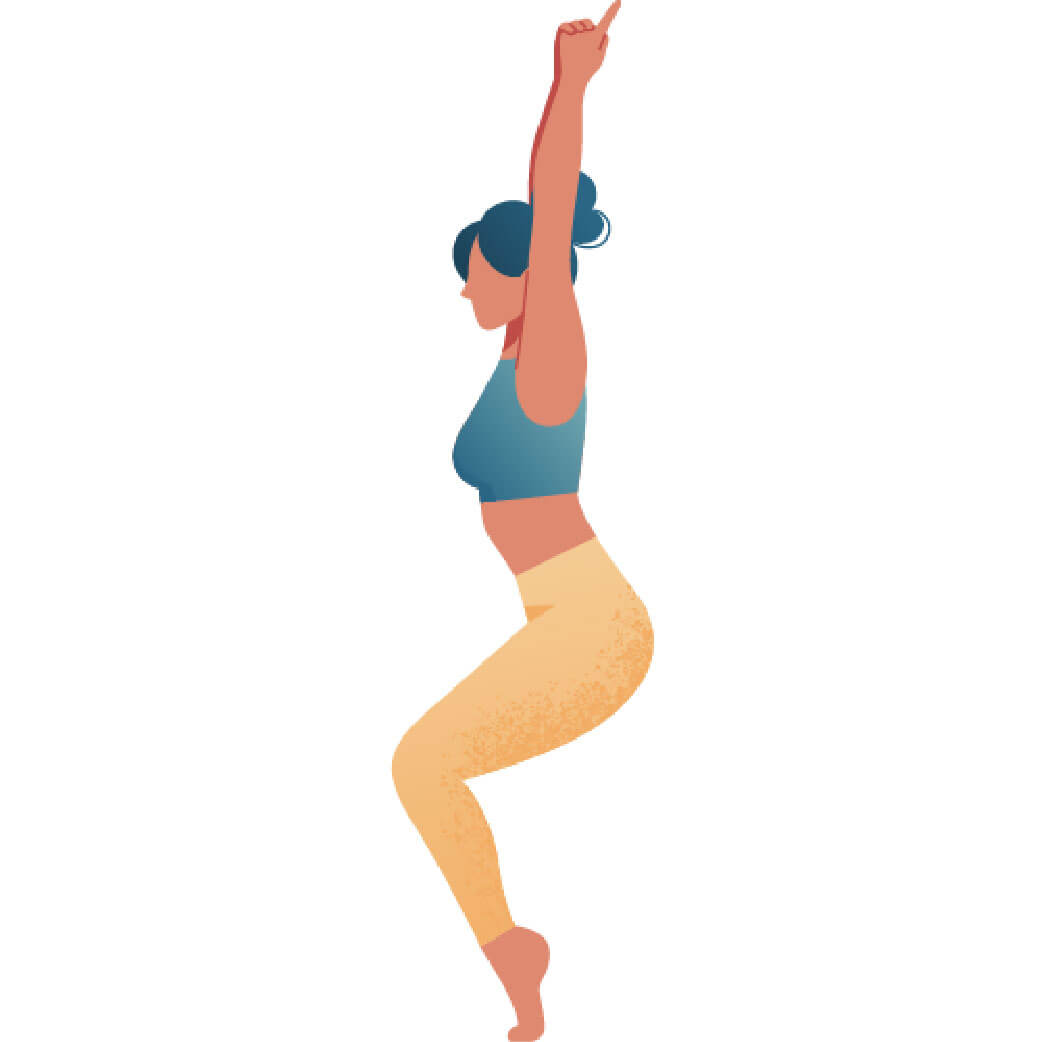
  • Sanskrit (Original): Utkaṭāsana on Tiptoes
  • Etymology: Intense (utkaṭa); pose (āsana)
  • Fun Fact about the pose: This pose is the perfect blend of strength and balance!
  • Asana Type: Balancing, Standing
  • Main length muscle groups: muscles_length_muscle_groups
  • Main strength muscle groups: Lower body: glute muscles, hamstrings, vastii, soleus, gastrocnemius, tibialis posterior, peroneus longus; muscles of the feet; upper body: psoas minor, abdominal muscles, triceps brachii
  • Vinyasa Breath: Inhale and exhale possible

How to Cue the Pose: Step By Step

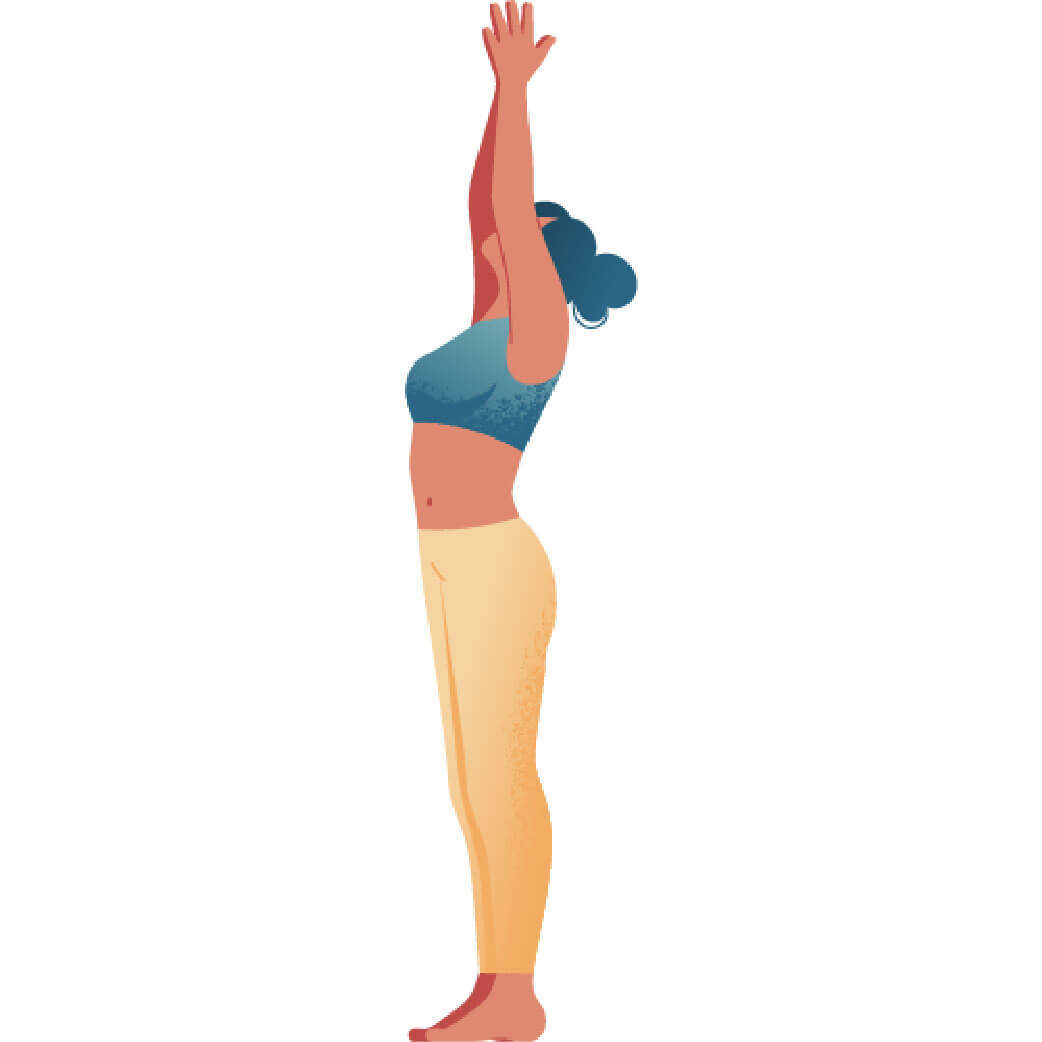
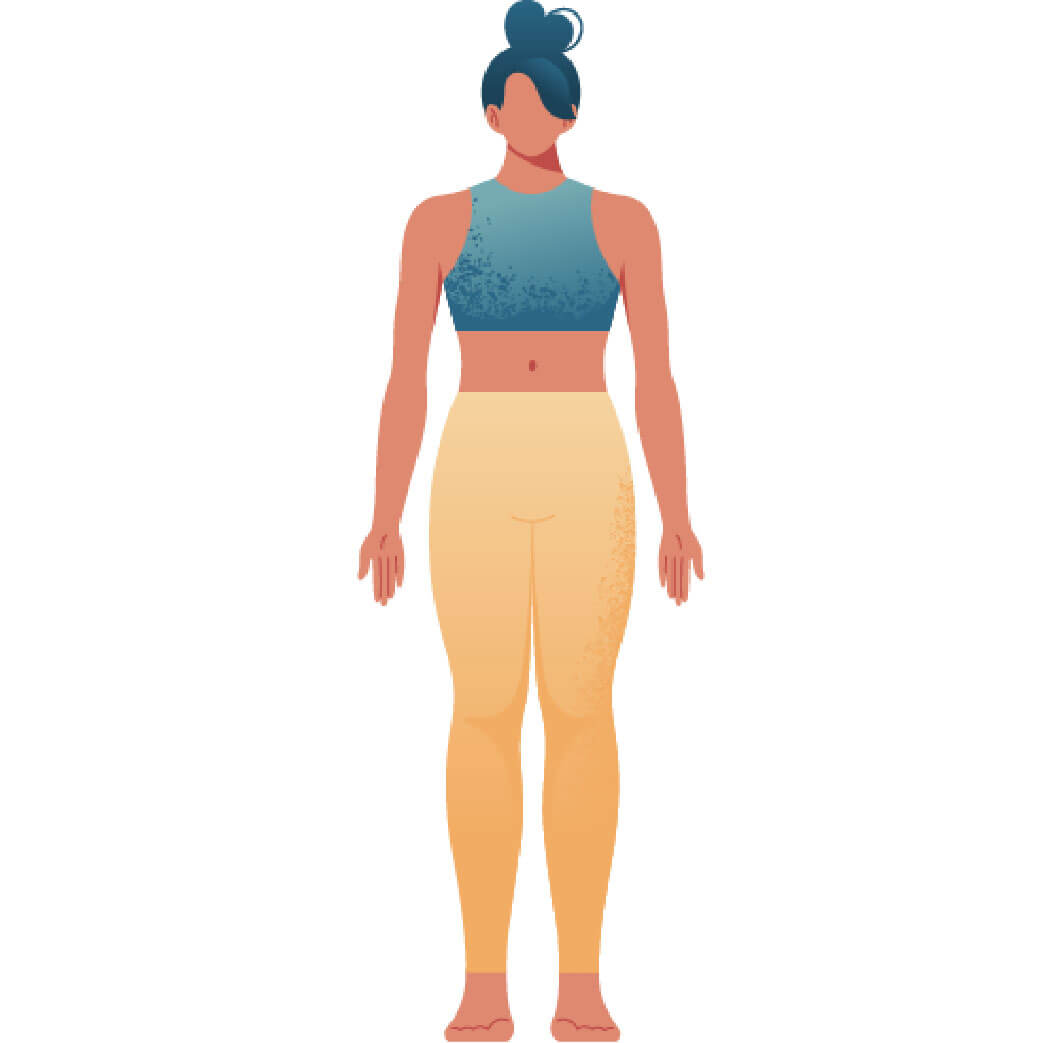
  • 1 Start from Tadasana, so you have your feet about hip-width apart. Press your big toe mounts and your pinky toes into the mat to activate the arches of your feet.
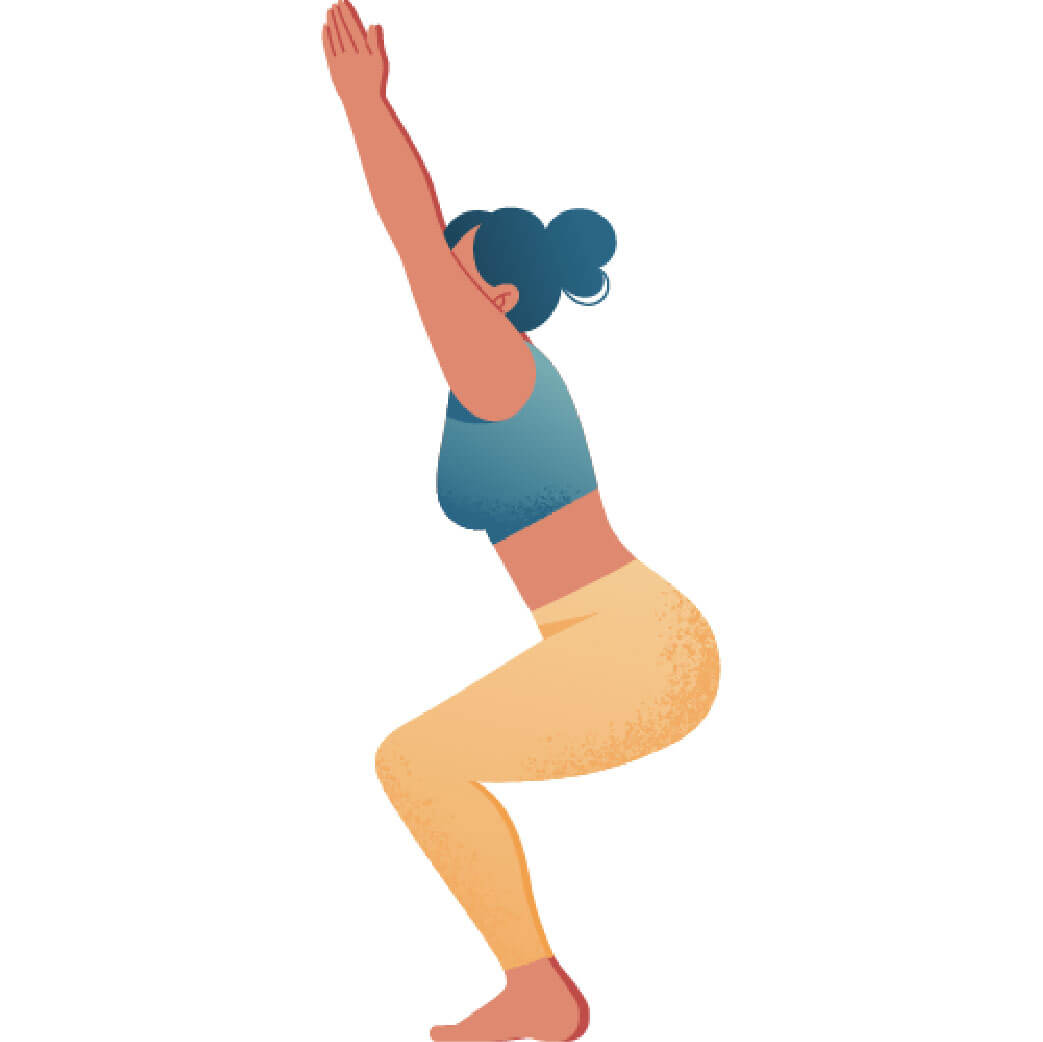
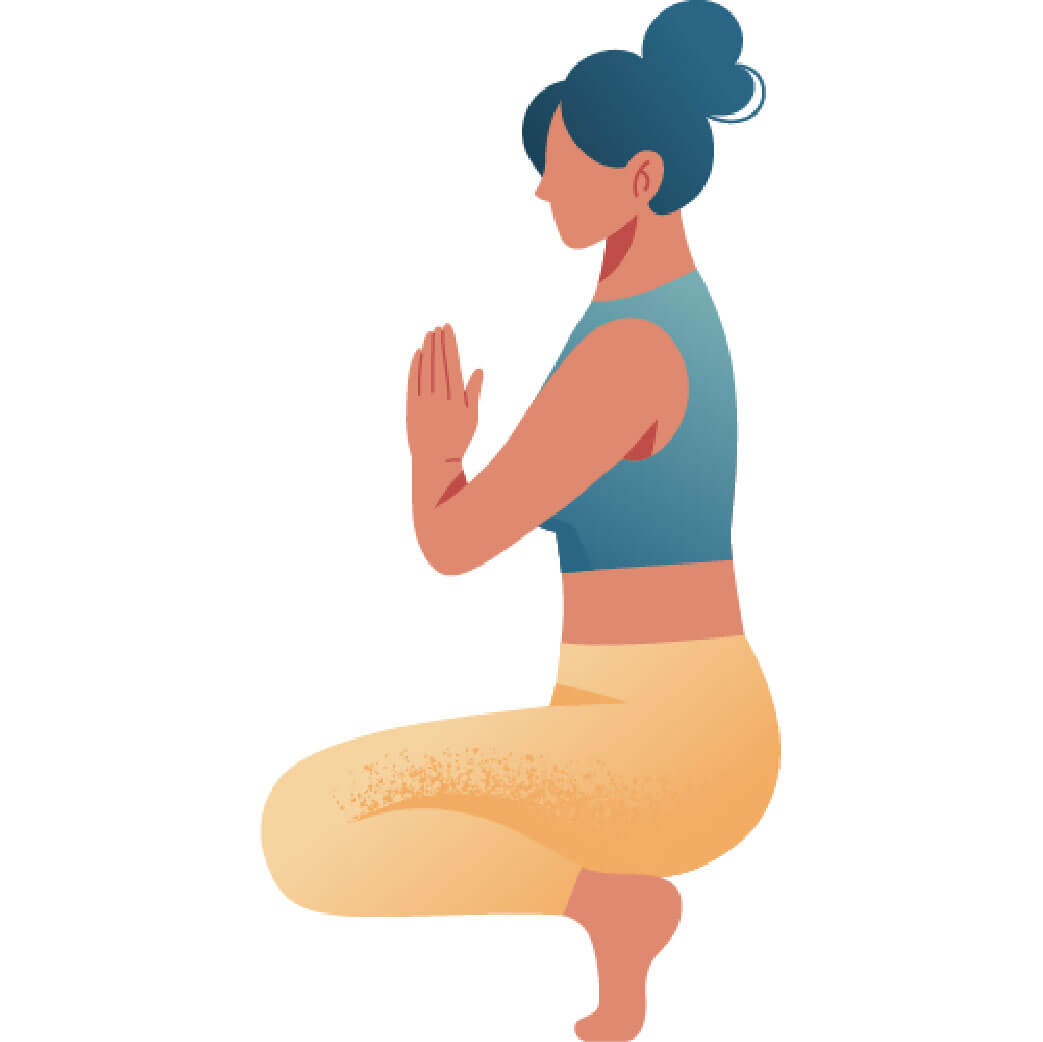
  • 2 Lift your heels while you bend your knees on an inhale. Lower your hips down, as though you were sitting down into a chair, hence the name Chair Pose.
  • 3 Internally rotate your thigh bones and send your groin area backwards and into the body. This will help to soften the groins and prevent the hip flexors from gripping overly tight. Send your hips further backwards, so that the front edge of your knees roughly aligns with your toes. Note that the knees should not cross the toes.
  • 4 Keep your knees stable so that they fall neither to the inside nor to the outside. Stabilize the knees since they are very mobile in this position.
  • 5 Suck your sacrum and lumbar spine into the body to create the gentle curve (lordosis) in your lower back. Pay attention to keep your pelvis rather neutral without tilting the pelvis too much forward or tucking the tailbone.
  • 6 Give your lower abdominal muscles a gentle upward lift by sucking the navel towards the spine and up.
  • 7 Lift your shoulders up and back to extend the arms along the ears or as far up as you can manage.
  • 8 Lift your ribcage away from the hips and lift your sternum forwards and up. Your upper body is now creating a backbend shape. You can even imagine the back of your head softly pressing into something to get even more front-body opening.
  • 9 Externally rotate your upper arms and have the palms of your hands facing towards each other.
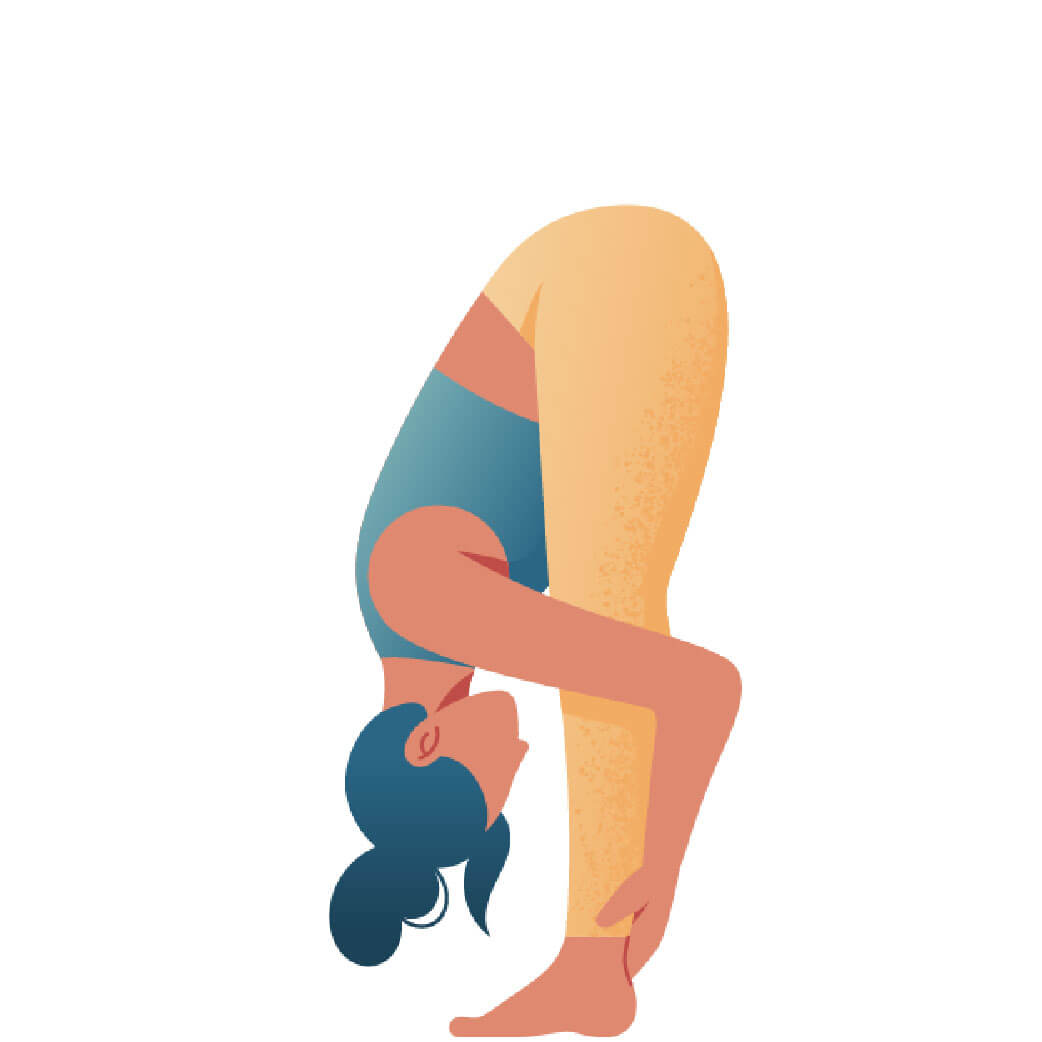
  • 10 The first step to exit Utkatasana on Tiptoes is placing the heels slowly back down. You could then fold over into Uttanasana on an exhale or simply straighten your legs into Tadasana. Of course, there are so many more options to choose from.

Working The Details: Alignment In The Pose

  • Keep the knees aligned: You work a lot with your balance in Utkatasana on Tiptoes, which can make the alignment a bit more wobbly. Especially the knees are quite vulnerable and mobile in this position. They tend to fall either inwards or outwards, depending on how you hold your balance. Make sure that your knees stay centered by hugging your midline. Equally press the big and the little toes into the mat. This will also help to stabilize your ankle joints, which will then also affect your knee joints.
    Also avoid that the knees come too far forward beyond the toes as this will put a lot of pressure on the joints. Instead, lift the hips back and up until you can see the tips of your toes again when you look down.
  • Create a gentle curve in the lower back: The tendency in Chair Pose on Tiptoes is that the lower back rounds. This again draws the pelvis and, as a result, the knees to come forward. To counter that, send the sit bones back and up. Pull the navel in and up to create length in the spine all the way up to the shoulders. This will not only align the legs in a more healthy position but also create more space in the upper body.

Adapting The Pose Through Modifications

Simplify

  • Let your heels rest on a rolled mat or blanket or even blocks if you’re struggling with balance in Chair Pose on Tiptoes. This will still give you the opportunity to explore the extra lift in your legs without having to focus on balance.
  • Alternatively, you can place an actual chair in front of you and hold on to it with your hands. Maybe you don’t even need to rest your hands on the backrest entirely but only have it there ‘just in case’. Or you place only one hand on the backrest and explore your sense of balance by carefully removing the hand, knowing that the chair is always there to give you stability if you need to.
  • Give the shoulder girdle more space by bending your elbows generously. This will help if you are struggling with a lot of tension around the neck and shoulders or if your shoulders are simply tight.
  • If your shoulders are still giving you trouble, you can also practice Utkatasana on Tiptoes with the hands on the hips. A nice modification is also to place the palms of the hands on the sacrum to really feel the lower back curvature under your hands.
  • You can create a reference for your knees with a block between your thighs, if you have a hard time stabilizing the knees. Place a block lengthwise between your thighs, just above your knees and squeeze the block together.

Level Up

  • Practice a longer hold and strengthen your quads and glutes with your sacrum leaning into a wall (arms up or down), sit yourself deep and embrace the burn.
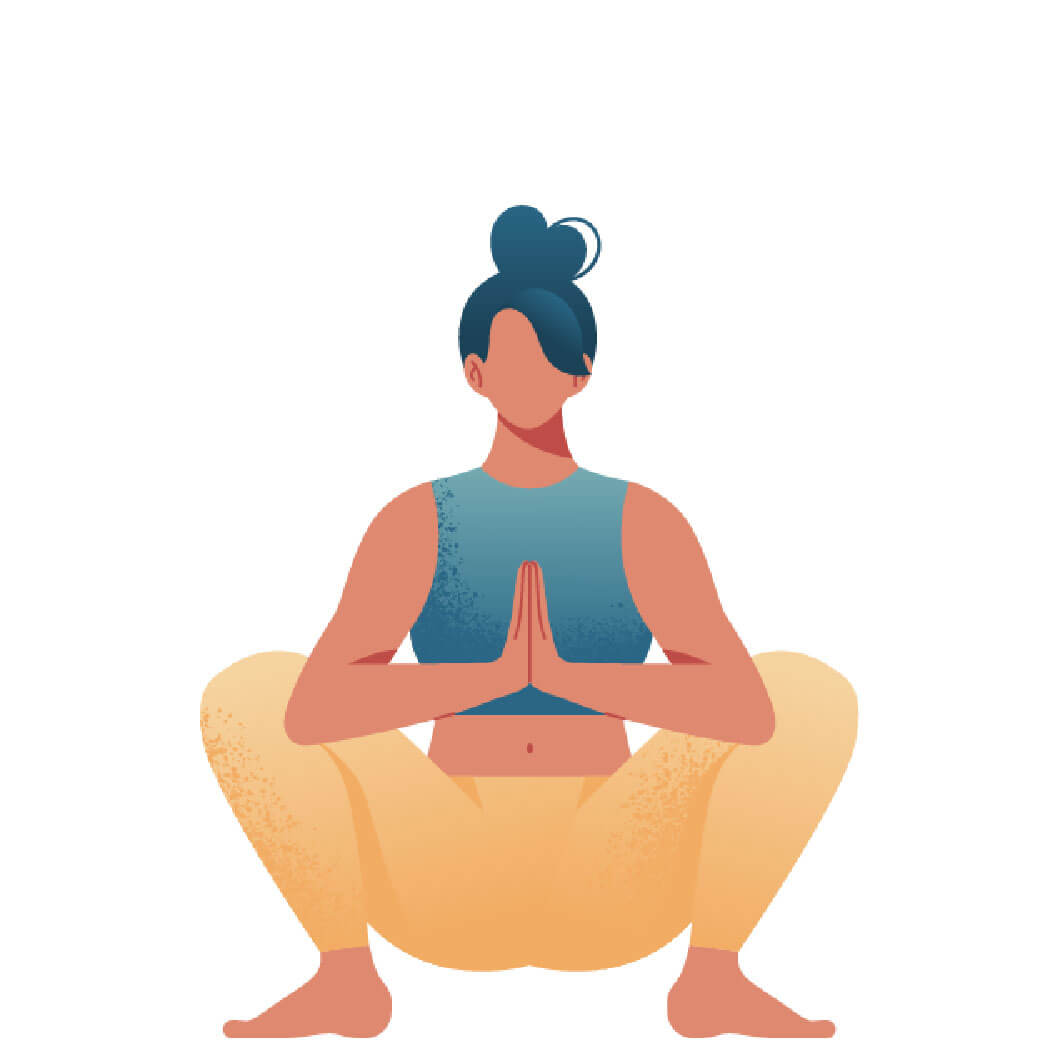
  • Transition slowly into Malasana (Squat Pose) – slowly like a snail. All the time, keep the position of your knees really accurate and stable. The extra challenge here is to keep the toes lifted all the time.
  • You can use a block between your palms to increase resistance when reaching the arms up into infinity. Press into the block to increase the outwards spiral in your upper arm bones.

Benefits of Utkatasana on Tiptoes

  • Just like its mother pose Utkatasana, this variation is a great strength builder. The pose does not only strengthen the entire legs, from the glutes and thighs to the calves and ankles, but also the buttocks and the core.
  • With attention to the correct alignment, Chair Pose on Tiptoes is beneficial for practitioners with knee issues. It strengthens the supporting structures around the knee joints as they need to work constantly in order to maintain balance.
  • If you really focus on the lumbar curve, you also get a nice front-opening for the chest and shoulders as well as a great stretch for the spine.
  • Maintaining your balance in this pose requires a lot of focus and concentration, which makes this asana a great workout for body and mind.

For me, this pose is the perfect combination of strength and balance! You can feel your entire legs working from the tiptoes to the pelvis. Also, the lifted heels give you a bit more range of motion in the hips, which allows you to sink deeper into the pose and indulge even more into its strengthening effects.

Saskia

Content Manager at Inside | Passionate Yoga Teacher

FAQ: Common questions about this pose

No, this is actually a good sign that your muscles are working and active. While learning new muscular patterns, they also become stronger. All this can be quite strenuous if you haven't used these muscles a lot, so shaking is a normal sign of expanding your capacity. Another factor is your balance. All the tiny muscles in your feet are busy as bees here to maintain your balance. If you allow yourself to explore exactly that, you will (once again) become aware what a miracle your body is!

There is no definite answer to this question. You can actually hold it as long as you want to (or can). Chances are that this is not more than a couple of breaths. In more dynamic classes like in Vinyasa yoga, Chair Pose on Tiptoes is mainly a transition pose where it is only held for one breath. However, in a Hatha-based class, the time spent in this pose can extend to five to ten full breath cycles (depending on the cruelty of the yoga teacher). The good thing here is that this gives you more time to work on the details and your balance.

As in almost any balancing pose, focusing your gaze on one point (Drishti) usually helps you a lot to stay balanced. If this doesn’t help, check your feet again and reassure yourself that you’re pressing the big toes and the pinky toes firmly into the mat. Of course, you always have the option to use a prop like the backrest of a chair or so as a little safety element. You can hold onto the prop with both hands or one hand only. Release it once you feel stable, knowing that it is there and you can hold on to it anytime you need to.