Quick Facts

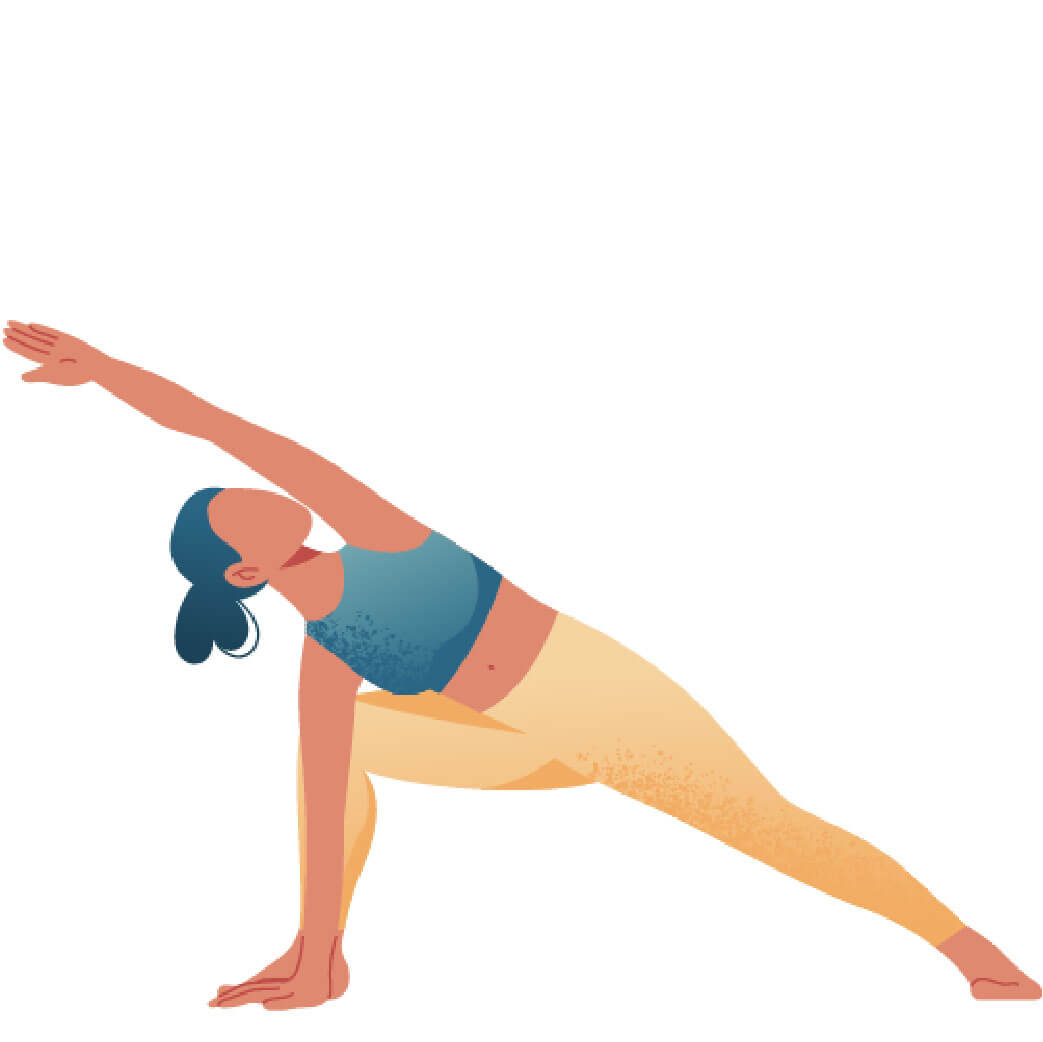
  • Sanskrit (Original): Utthita Pārśvakonāsana
  • Etymology: Extended (utthita); side (parsva); angle (kona); pose (asana)
  • Fun Fact about the pose: Breathing in this pose provides a great asymmetrical stimulation to the diaphragm like almost no other position does.
  • Asana Type: Standing
  • Main length muscle groups: muscles_length_muscle_groups
  • Main strength muscle groups: Front leg side: external obliques, gluteus medius and minimus, piriformis; back leg side: internal obliques, serratus anterior, triceps brachii, gluteus medius and minimus, hamstrings, piriformis
  • Vinyasa Breath: Inhale and exhale possible

How to Cue the Pose: Step By Step

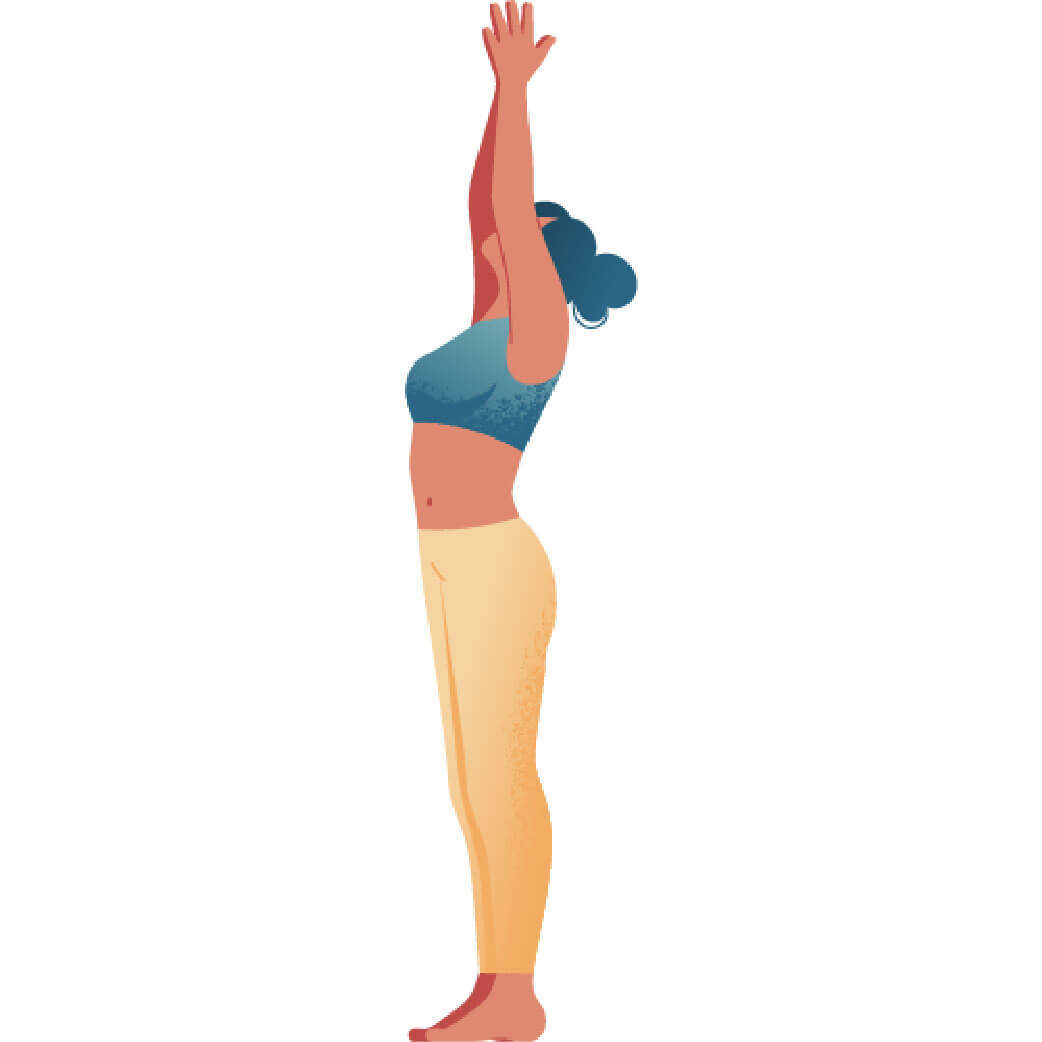
  • 1 Start in a standing position such as Tadasana and step one leg back. The stance is similar to Virabhadrasana II: The toes of the front foot point forward and the back foot is parallel to the short edge of the mat.
  • 2 Bend the front knee at around 90 degrees, keeping the knee stacked above the ankle. Beware that the knee does fall neither inside nor outside.
  • 3 The back leg remains straight and active. Push the outside of the back foot firmly into the mat and pull the knee cap up.
  • 4 Reach forward with the arm of the front-leg side as far as you can. When you feel you’ve created the maximum space here, start tilting laterally towards the front leg on an exhale.
  • 5 Outwardly rotate both legs to bring the hips in one line. Pay special attention to the back hip. You can use your hand at the crease of the back hip to push it back.
  • 6 Place the fingertips or the palm of the front-leg side onto the ground or on a block on the outside of the front foot.
  • 7 Straighten the other arm up and forward over your head with the palm facing toward you. Stretch the fingertips away from you.
  • 8 Rotate your sternum to face the ceiling rather than the floor. Aid this movement by pushing the top-side shoulder blade back.
  • 9 Create a long line of energy from the outside of the back foot to the fingertips of the same side.
  • 10 Keep your neck long and neutral, i.e. look towards the long side of the mat rather than up.
  • 11 To come out of Utthita Parsvakonasana on an inhale, engage your core muscles by pulling the navel in to lift the torso back up.

Working The Details: Alignment In The Pose

  • Keep the knee aligned: Since your bodyweight mainly is on the front leg, pay particular attention to the knee as it is in a vulnerable position here. Make sure it is stacked above the ankle and not further forward (i.e. you don’t want to create a sharp angle between thigh and shin). Also, let the knee fall neither inside nor outside. Generally, you’re on the safe side if you gently push the knee toward the pinky toe if it tends to fall inward. When in doubt, place the front hand on the inside of the front foot instead of on the outside. This way, you can use your forearm and elbow to stabilize your knee and prevent it from collapsing inward.
  • Align the body along the vertical axis: Imagine your body needs to fit into the small space between two walls, i.e. neither your butt should stick out backwards nor your torso should collapse forward. If that happens, the culprit usually is the hip. Often, the upper hip falls forward and the lower hip is pushed back so that the pelvis is slightly turned toward the floor. The remedy here is to actively push the upper hip back and outwardly rotate the thigh. This is best done before coming into the full expression of the pose: Bend the back knee slightly as this will give you more range of motion in the hip (joint unlock). Push the hip bone of that same side back before straightening the knee again.
  • Keep the torso upright: Many practitioners tend to let the torso collapse forward in Utthita Parsvakonasana so that the chest is slightly facing down instead of up. The reason often is that the front hand doesn’t quite reach the floor – either because it is too short in relation to your legs or because of limited range of motion in the hip to tilt laterally. The workaround here would be to either place the forearm on the front thigh or rest the hand on a block (I know, your ego may resist but your body will thank you!). This will also give you more space to push the top shoulder backward.

Adapting The Pose Through Modifications

Simplify

  • If you can’t reach the floor with your front hand (yet), place the forearm on the front thigh or put a block on the outside of your front leg to rest your hand on. You can start with the block in an upright position and, with constant practice, you will be able to put it flat on the ground.
  • If you feel compression in your neck and shoulders (or even suffer from shoulder impingement), keep the top arm slightly bent or let it even rest on the hip crease. This will also give you more freedom to push the shoulder back and align your body along the vertical axis.

Level Up

  • You can give your abdominal muscles an extra challenge in Utthita Parsvakonasana if you do not allow your hands to rest on the ground or on a block but keep them lifted instead. This way, your core will become active to hold the weight of your torso – and the pose becomes a true standing pose with all your weight supported by your legs. You can even extend the front arm toward the long side of the mat and hold this pose for several breaths.
  • For a half bind in Utthita Parsvakonasana, wrap the top arm around your back and reach for the front thigh. If you want even more, go for the full bind by lifting the bottom hand off the floor to find the other hand behind your back.

Benefits of Utthita Parsvakonasana

  • Extended Side Angle Pose stretches the entire top side of the body from the legs and hips to the side body and the arm and shoulder. This makes the pose a great hip and shoulder opener, counteracting any stiffness that you may have in your shoulders or back.
  • It also strengthens the front leg as it has to carry the main portion of your body weight. If the knee is correctly aligned, this is a great position for it to gain both more flexibility and stability.
  • Keeping the torso stable while bending laterally requires a lot of core strength, which is why Extended Side Angle Pose strengthens the abdominal muscles.
  • This pose is also a great exercise to strengthen your pelvic floor.
  • It provides a soft abdominal massage and can, thus, help your digestion.
  • As there are many details to pay attention to in this asana, it trains your body awareness, focus and concentration.

Side stretches are often neglected in yoga classes. We tend to focus on the legs, hips, or shoulders, forgetting that the side body actually impacts all these areas. Especially Extended Side Angle Pose gives the body such a great feeling of length and space!

Saskia

Content Manager at Inside | Passionate Yoga Teacher

FAQ: Common questions about this pose

While it is true that many traditional teachings of yoga tell you to look upward in Utthita Parsvakonasana, there is actually no extra benefit to this. If your neck allows for this motion without complaining – go for it! However, many practitioners will feel a more or less intense compression in the side of the neck they are turning to. If this is the case, listen to your body and look straight forward or even down.

Chances are you won’t like the answer: You can simply rest your forearm on the thigh or place it onto a block until your body is ready to perform the full expression of the pose. This will usually be the case once your hip joint and groin are flexible enough to allow for enough lateral tilting. However, in some people, the arms are simply too short in relation to the legs. In this case, you will hardly ever be able to put the palms on the ground (but you have the legs to wear all kinds of skirts – congrats to that!).

The buzz word here is scapulohumeral rhythm, i.e. the movement of your upper arm along with your shoulder blade. Usually, your upper arm bone can only abduct to an angle of approx. 60 degrees. The remaining abduction that is required to bring your arm close to the head comes from the upward rotation of the shoulder blade. This can cause the humerus (upper arm bone) and scapula (shoulder blade) to collide into each other. To overcome this, outwardly rotate your upper arm first (i.e. the palm faces away from you) and pull the shoulder blade up towards your ear. This ignites the upward rotation of the scapula. Once you feel you have more space in the shoulder, turn your palm towards you.