Quick Facts

  • Sanskrit (Original): Vīrabhadrāsana I Traditional
  • Etymology: Warrior (vīra), friend (bhadra), pose (āsana), traditional
  • Fun Fact about the pose: Virabhadrasana I is traditionally practiced with the back heel on the floor. However, nowadays its variation with the heel lifted has become more popular to practice across many yoga styles.
  • Asana Type: Standing
  • Main length muscle groups: muscles_length_muscle_groups
  • Main strength muscle groups: Rotator cuff; serratus anterior; quadriceps; back leg: gluteus maximus, quadriceps, muscles of the feet
  • Vinyasa Breath: Inhale and exhale possible

How to Cue the Pose: Step By Step

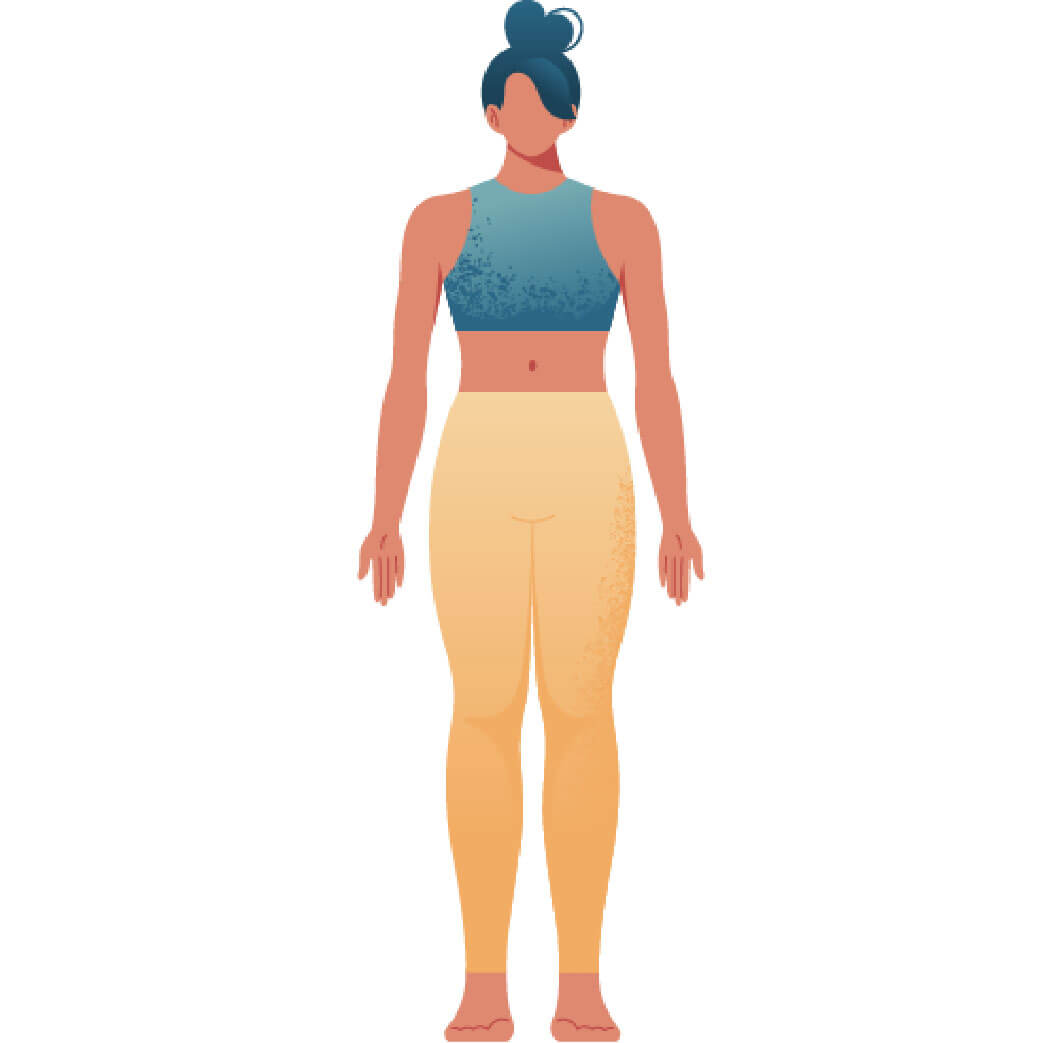
  • 1Start in a standing position such as Tadasana and step one foot back and place it flat into the floor.
  • 2The front foot points directly forward towards the short edge of the mat while the toes of the back foot are turned out about sixty degrees. When you draw a line in between both of your heels from the front to the back, you should be able to place one of your fists in the space between. You can even increase the distance as if you were standing on train tracks to make this pose more accessible.
  • 3Root through the feet placing special emphasis on the big toe mount of the front foot and the outer edge of the back foot into the mat.
  • 4Square the hips so that both hip bones face forward.
  • 5Microbend the back leg and internally rotate the back thigh to square the hips more. Ideally, your hip bones face forward like headlights. Straighten the back leg again keeping the muscles engaged and firm.
  • 6Bend the front leg and make sure the knee is stacked exactly above the ankle. Press down through the heel and the big toe mount.
  • 7Lift up the pubic bone and draw your navel up.
  • 8Open your ribcage and push the ribs forward and up.
  • 9Also lift the shoulders up and back before you raise your arms up.
  • 10Externally rotate your arms and engage them all the way up to the fingertips.
  • 11Lift the chin slightly so that the neck is long while, at the same time, pushing the chest further up toward the ceiling.
  • 12Bring your awareness to the engagement of the entire body in Virabhadrasana I Traditional.

Working The Details: Alignment In The Pose

  • Square the hips with awareness: Tune in to what is happening in your hip socket. When we step back into Virabhadrasana I Traditional, two movements are required – external rotation and extension. The femur can move in six different directions in the hip socket. Really cultivate this movement and try to feel your thigh bone moving in the hip socket, also when you internally rotate after stepping back. Make sure to have your pelvis adaptable and not rigid and stiff. This will keep your SI joints very happy.
  • Move in two directions: Have your hips sinking down as if you were sitting down on a stool and let the rib cage and torso lift up and get lighter. This allows you to extend in two directions within one pose.
  • Keep your ankles stable: A common observation in Warrior I Traditional is that the front leg wobbles while the back leg collapses on the inner ankle. Avoid this by keeping the ankles stable. Start by engaging the feet, especially the big toe mount of the front foot and the outer edge and big toe mount of the back foot. Then engage the muscles surrounding your ankles. You can imagine bootstrapping them, wrapping the muscles tighter. Lift the inner leg line and the inner ankle of the back leg.
  • Draw the shoulders up: Another common mistake is the alignment of the shoulders. You may have heard the cue to draw the shoulders away from the ears. However, it’s actually much healthier to pull the shoulders up towards the ears (due to the so-called scapulohumeral rhythm). Also, externally rotate the arms and lift the chin up so that the neck is neutrally elongated.

Adapting The Pose Through Modifications

Simplify

  • Take a shorter and wider stance for more stability. This also allows you to stay more upright.
  • Keep the hands either on your hips or on the front thigh if extending the arms up to the sky causes shoulder problems or results in a loss of balance and stability. This way, you can focus more on the leg work.
  • Keep the back leg slightly bent if you feel too much tension in your inner knee.

Level Up

  • Place a block lengthwise into a wall and just below your front knee. Push your front leg into the block to track your range of motion in the bend of your front leg.
  • Fire up your calf muscles by lifting up the front heel. Enjoy the burn!
  • Play with different arm positions in Warrior I Traditional. You can, for example, extend the arms to the sides like an airplane, bring the palms together in Anjali Mudra, or intertwine the arms into Eagle (Garudasana) arms. There are so many different options – so let your creativity run free!
  • You can also increase the backend in Virabhadrasana I Traditional by opening the rib cage even more. To avoid sinking into the backbend, interlace your thumbs and pull them away from each other. This will activate your back muscles and give you more stability. At the same time, focus on pushing the back thigh up.

Benefits of Virabhadrasana I Traditional

  • Virabhadrasana I Traditional strengthens the shoulder muscles and the spine as well as the legs and feet while at the same time increasing the flexibility in these body parts.
  • As it works and engages the whole body it increases your core strength and improves focus, balance and stability.
  • The pose is a whole-body stretch from your neck, shoulders and arms to your belly and groins, and even down to the legs and ankles. Since it opens your hips, chest and lungs, this asana encourages circulation and respiration and, as a result, energizes the entire body.
  • Since Warrior I Traditional is a gentle backbend it’s a great pose for stretching the entire front body while strengthening the legs and glutes as well as the core and upper body muscles.
  • Warrior poses in general are essential for building strength and stamina in your yoga practice and are, thus, a great booster for your confidence.

When I started practicing yoga I learned the version of Virabhadrasana I with heel lifted. The first time I encountered the traditional version of Warrior I it felt very stiff and awkward. After some aversion in the beginning, I have discovered the beauty of the pose and have switched to mainly practicing the traditional alignment. My calves and psoas love me for this.

Saskia

Content Manager at Inside | Passionate Yoga Teacher

FAQ: Common questions about this pose

The traditional alignment of Warrior I makes it a bit harder to square (i.e. close) the hips because the back heel has to remain on the ground. Lifting the heel of the ground makes it easier to internally rotate the back thigh, so it will be easier to keep the hips closed. However, the lifted heel is also a main cause of instability in the pose for beginner students or practitioners that suffer from tight ankles or insufficient grounding of the feet. The benefit of the traditional Warrior I version is the possibility to deepen your awareness of the movement of your femur in your hip socket. To keep your knee safe you will really need to initiate the internal rotation of the back leg from the thigh bone (femur). Done correctly, Warrior I Traditional will give you an intense stretch of the whole back leg, especially in the calves, ankles and feet.

https://tintyoga.com/wp-content/uploads/2022/03/39_Virabhadrasana-I-Traditional.jpg

https://tintyoga.com/wp-content/uploads/2022/03/39_Virabhadrasana-I-Traditional.jpg