Tadasana – or Mountain pose in English – may not look like much. It’s simply standing on two feet. Anyone can do that, right?
Well, that’s not the end of the story. Keeping the body active and aligned actually is hard work. The yoga pose Tadasana is more than just standing around. It rather requires you to be aware of every part of the body and how they’re aligned.
You may be tempted to simply skip the pose or rush through Mountain pose since it seems too simple. However, it actually is a great way to check in with your body and set the foundation for proper alignment throughout your entire asana practice. This is why you should practice at least one really attentive Tadasana at the beginning of your practice to set you on a great path.
Let’s look at Tadasana in more detail:
1. How to Do Mountain Pose in Yoga?

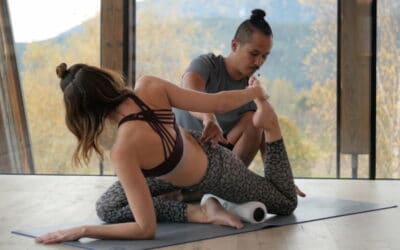
Find out why Tadasana (Mountain pose) is more than just standing in tow legs.Photo: TINT Instructors Desirée Rumbaugh & Andrew Rivin.
1.1. Step by Step into Mountain Pose
1. Start with the alignment of the feet: place them hip-width apart and press the four corners of the feet into the ground.
2. Relax the toes and lift the arches of the feet.
3. Squeeze the feet and shins in toward the center of the body.
4. Push the tops of the thighs and the sitting bones back and apart.
5. Pull the lower belly up and engage the abdominal muscles.
6. Keeping that strength, stretch down from underneath the ribcage all the way down to the legs and the feet.
7. At the same time, stretch up through the neck and head.
8. Let the arms rest right by the sides and relax the shoulders.
Now it’s time to put theory into practice. Watch this short video of Desirée Rumbaugh from her workshop Building Blocks for a Transformational Home Practice, where she explains how to do Tadasana step by step.
Desirée Rumbaugh explains step by step how to do Mountain pose.
1.2. Are the Feet Together or Apart in Mountain Pose?
As a rule of thumb, in yoga poses from Downward-Facing Dog to High-Lunge positions the feet should be hip-width apart. To find the correct distance, place the fingers about a finger-width inwards from the pelvic bones on the hip joint. From there, following the line down the legs, the fingers should be in one line with the second toe.
This also applies to Mountain pose, where you might have been taught to place the big toes together. However, keeping the feet hip-width apart instead corresponds to the body’s plumb line, i.e. the line of gravity. When things are in a straight line, the weight naturally travels down that line and this is therefore the most energy-efficient way to carry the body weight.
So, why have many been taught to keep the feet together with the big toes touching? Maybe simply because it looks better. From an anatomical perspective, there is no reason why you should keep the feet together. On the contrary, the line of force is in an angle that requires more energy.
Thus, placing the feet hip-width apart is the safest way for the feet and the knees to carry the body weight. Just think of skyscrapers: They are also vertical and not at an angle. Can you imagine what would happen if they had skew foundations? The same is true for the legs. This is also a question that is commonly asked in yoga teacher trainings. To find answers to this and other questions relevant to yoga teaching, check out this article.
“Most people do not listen with the intent to understand.”
2. What Is Your Body Doing In Tadasana?
2.1. What Are the Joints Doing?
The spine is in a neutral position or in a slight axial extension. The arms are neutrally extended with the forearms pronated. The hip is neutrally adducted and extended while the knees are extended and the ankles are in dorsiflexion.
2.2. Which Muscles Are Engaged?
In Tadasana, the main task of the muscles is to maintain the curves of the spine against the pull of gravity. This requires a lot of different muscles in the upper body to contract concentrically and eccentrically. In every one of us, the form and degree of this combined action of flexor and extensor muscles that is required to support the postural alignment vary.
As regards the lower body, the arches of the feet are engaged and provide support for the entire body – from the pelvic floor to the abdomen, rib cage, and neck, up to the crown of the head.
There are many layers of musculature in the feet that all work together to lift, balance, and move the bones of the feet. This is an extremely flexible structure and enables us to move smoothly even on uneven terrain.
For more tips on proper alignment in some of the most common yoga poses, check out our free asana ebook. You’ll find step-by-step instructions, alignment quick-fixes and sequencing tips. Simply download it here and use it as your reference guide on the go.
3. The Tadasana Template – Mountain Pose in Every Yoga Pose
The special thing about Mountain pose is that it’s almost identical to our anatomical standing position and it’s a uniquely human position. We human beings are the only true bipeds and, at the same time, the least stable creatures. This is because standing on two legs gives us a very small base of support and a very high center of gravity. We also have the heaviest brain in proportion to our body weight, which makes balancing even more difficult.
Apart from that, it’s the foundation for almost every asana – at least for standing yoga poses such as Warrior 1, Warrior 2, or Tree Pose. This is because nothing stable can be built on an unstable foundation.
Let’s have a look at the Tadasana template in more detail:
1. Set the feet hip-width and parallel so that the midlines are parallel. The midline starts at the center of the ankle and runs to the base of the second toe. Hip-width apart refers to the width of the hip joints and not the outside of the pelvis. This is why standing hip-width is usually narrower than most yoga students think.
2. Keep the four corners of the feet evenly grounded. The four corners are:
- the mound of the big toe,
- the inner heel,
- the mound of the small toe, and
- the outer heel.
3. Lift up the centers of the arches of the feet.
4. The shins hug the midlines toward each other and the tops of the shins move forward. This creates a gentle hollow in the back of the knees.
5. The thighs do the exact opposite: They widen and the tops of the thighs move back to create a little hollow in the hip area. This also creates a slight curve in the lower back
6. The sides of the waistline lift up. This results in the ribs and the armpits floating higher. At the same time, try to relax the shoulders.
7. The shoulders and the collarbones broaden as if you were to press the shoulders out to the sides.
8. The throat is open and the crown of the head lifts up towards the sky.

The Tadasana Template helps you improve your alignment in any yoga pose.
If you want to learn more about the Tadasana template and other foundations of healthy yoga alignment, immerse yourself in Barbra Noh’s Therapeutic Alignment Immersion on TINT. In this 3-hour workshop, you’ll get to know biomechanical principles that intelligently respond to the most common postural misalignments. Applying them to any style of asana practice will increase strength, range of movement, and increase the therapeutic benefits of the asana practice.

Learn more about Tadasana and the foundations of healthy alignment in Barbra Noh’s Therapeutic Alignment Immersion on TINT.
4. How Can You Integrate Tadasana into Your Yoga Practice?
As already mentioned above, Tadasana sets you on the right path for your entire yoga practice as it reminds you to align your body in the healthiest way possible. This is why it should be part of any asana practice. It’s a great way to check in with our body at the beginning of the class, but also in between poses. It also holds a lot of possibilities to work on your general alignment and posture.
4.1. Work on Improving Your Posture in Tadasana
If you have difficulties bringing the pelvis into a neutral position, bend the knees slightly. This allows you to lengthen the tailbone. Once you have created enough length, straighten the knees again without hyperextending them as this will create a joint lock in the pelvis.
Squeezing a block with the thighs helps to better engage the thighs. Push the block slightly backward to feel the rotation of the thighs.
Another way to find the perfect alignment in Mountain pose is practicing it at a wall. Place your feet parallel and hip-width apart in front of the wall. Your buttocks, the shoulder blades, and the back of the head should slightly touch the wall. Also draw the lower part of the rib cage toward the wall. Ground down through the feet while at the same time lengthening through the crown of the head.
To work more on activating the abductor muscles in Tadasana, you can use a yoga belt around the shins. It should be tight enough that you feel some resistance when you push out against it. Also, keep the feet parallel and the knees soft to avoid hyperextending them. Push the feet away from each other as if you were trying to tear the strap apart. This will most likely not happen, but allows you to feel the engagement in the abductor muscles.
Practice Tadasana and other standing poses in Desiree Rumbaugh’s Standing Poses for Home Practice on TINT.
4.2. Experiment With Some Variations of Mountain Pose
Although we tried to make Tadasana more interesting for you, you might still be looking for some changes and variations to spice up your yoga practice. There are some ways to experiment with different positions of the hands in Mountain pose.
You can, for example, bring the palms together in front of the chest. This is called Anjali Mudra or prayer position. It’s often used in combination with the greeting Namaste. This is a great time to close the eyes and pause to feel the effects on the body.
Another possible position of the hands is keeping the arms down with the palms resting against the outer thighs instead of letting the palms face forward.
You can also interlace the fingers with the index fingers pointing up. If you’re up for a nice shoulder stretch, you could even extend the arms straight in front of you or upwards.
If you’re looking for guidance in other yoga poses, check out our free yoga asana eBook that takes you through ten of the most commonly practiced yoga poses. Download it for free and use it as a reference guide for your yoga practice.
5. What Are the Benefits and Contraindications of Tadasana?
Yes, this yoga pose may certainly not look like much, but Tadasana still has many benefits. Correctly executed, it will use every muscle in the body. It can not only improve general posture and body awareness, but also strengthens the thighs, knees, and ankles. You may even start sweating if you engage the leg muscles strongly enough.
Since Mountain pose helps establishing good alignment, it can also improve your alignment in a variety of other standing postures as well as in inverted poses like arm balances.
Engaging the feet correctly by lifting the arches of the feet up may reduce flat feet.
Since the lower back lengthens if the Tadasana template is applied properly, Mountain pose can also relive sciatica and back pain.
There are no real contraindications of Tadasana. Everyone who can stand on two feet can do Mountain pose. However, due to the balancing nature of the posture, you may experience dizziness or lightheadedness if you’re suffering from headache, migraine, or low blood pressure.
To sum up: Don’t neglect Tadasana by skipping it or rushing through it. It may look like simply standing up, but focusing on the correct actions in Mountain pose and pausing a few breaths will lay the foundations not only for the rest of your asana practice but also for your everyday life.
Ready to practice?
Once you’ve mastered Tadasana, you’re ready to take your new alignment into all sorts of standing poses. You’ll find a variety of classes on TINT. Start with Desirée Rumbaugh and Andrew Rivin‘s Standing Warm-Up and move on to their classes Standing Poses for Home Practice Part 1 and Part 2. You can learn How to Take a Stand with Katchie Ananda or experience hip-opening Standing Poses with David Lurey and Mirjam Wagner.

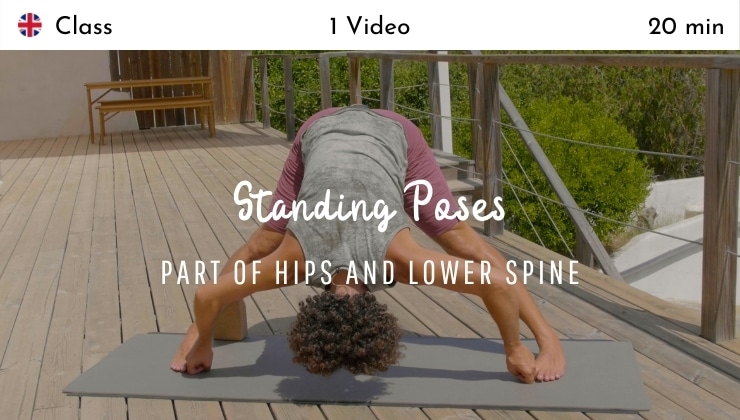

Practice standing poses with a variety of classes on TINT.
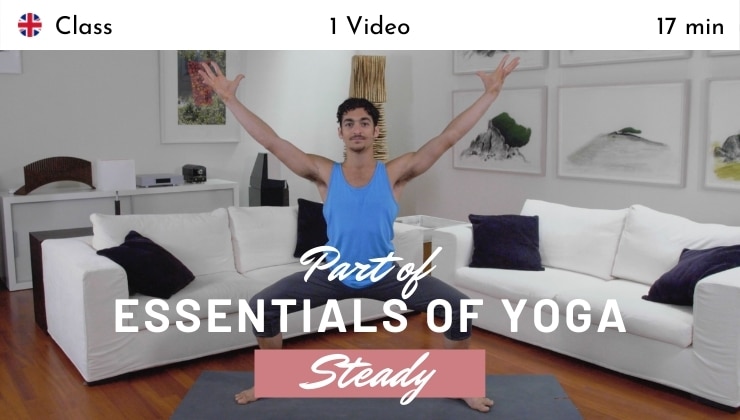
If you’re new to yoga, you might like Matt Giordano‘s Steady practice from The Essentials of Yoga or experience John Friend and Desi Springer‘s Bowspring approach to standing poses in a Wall Sequence.